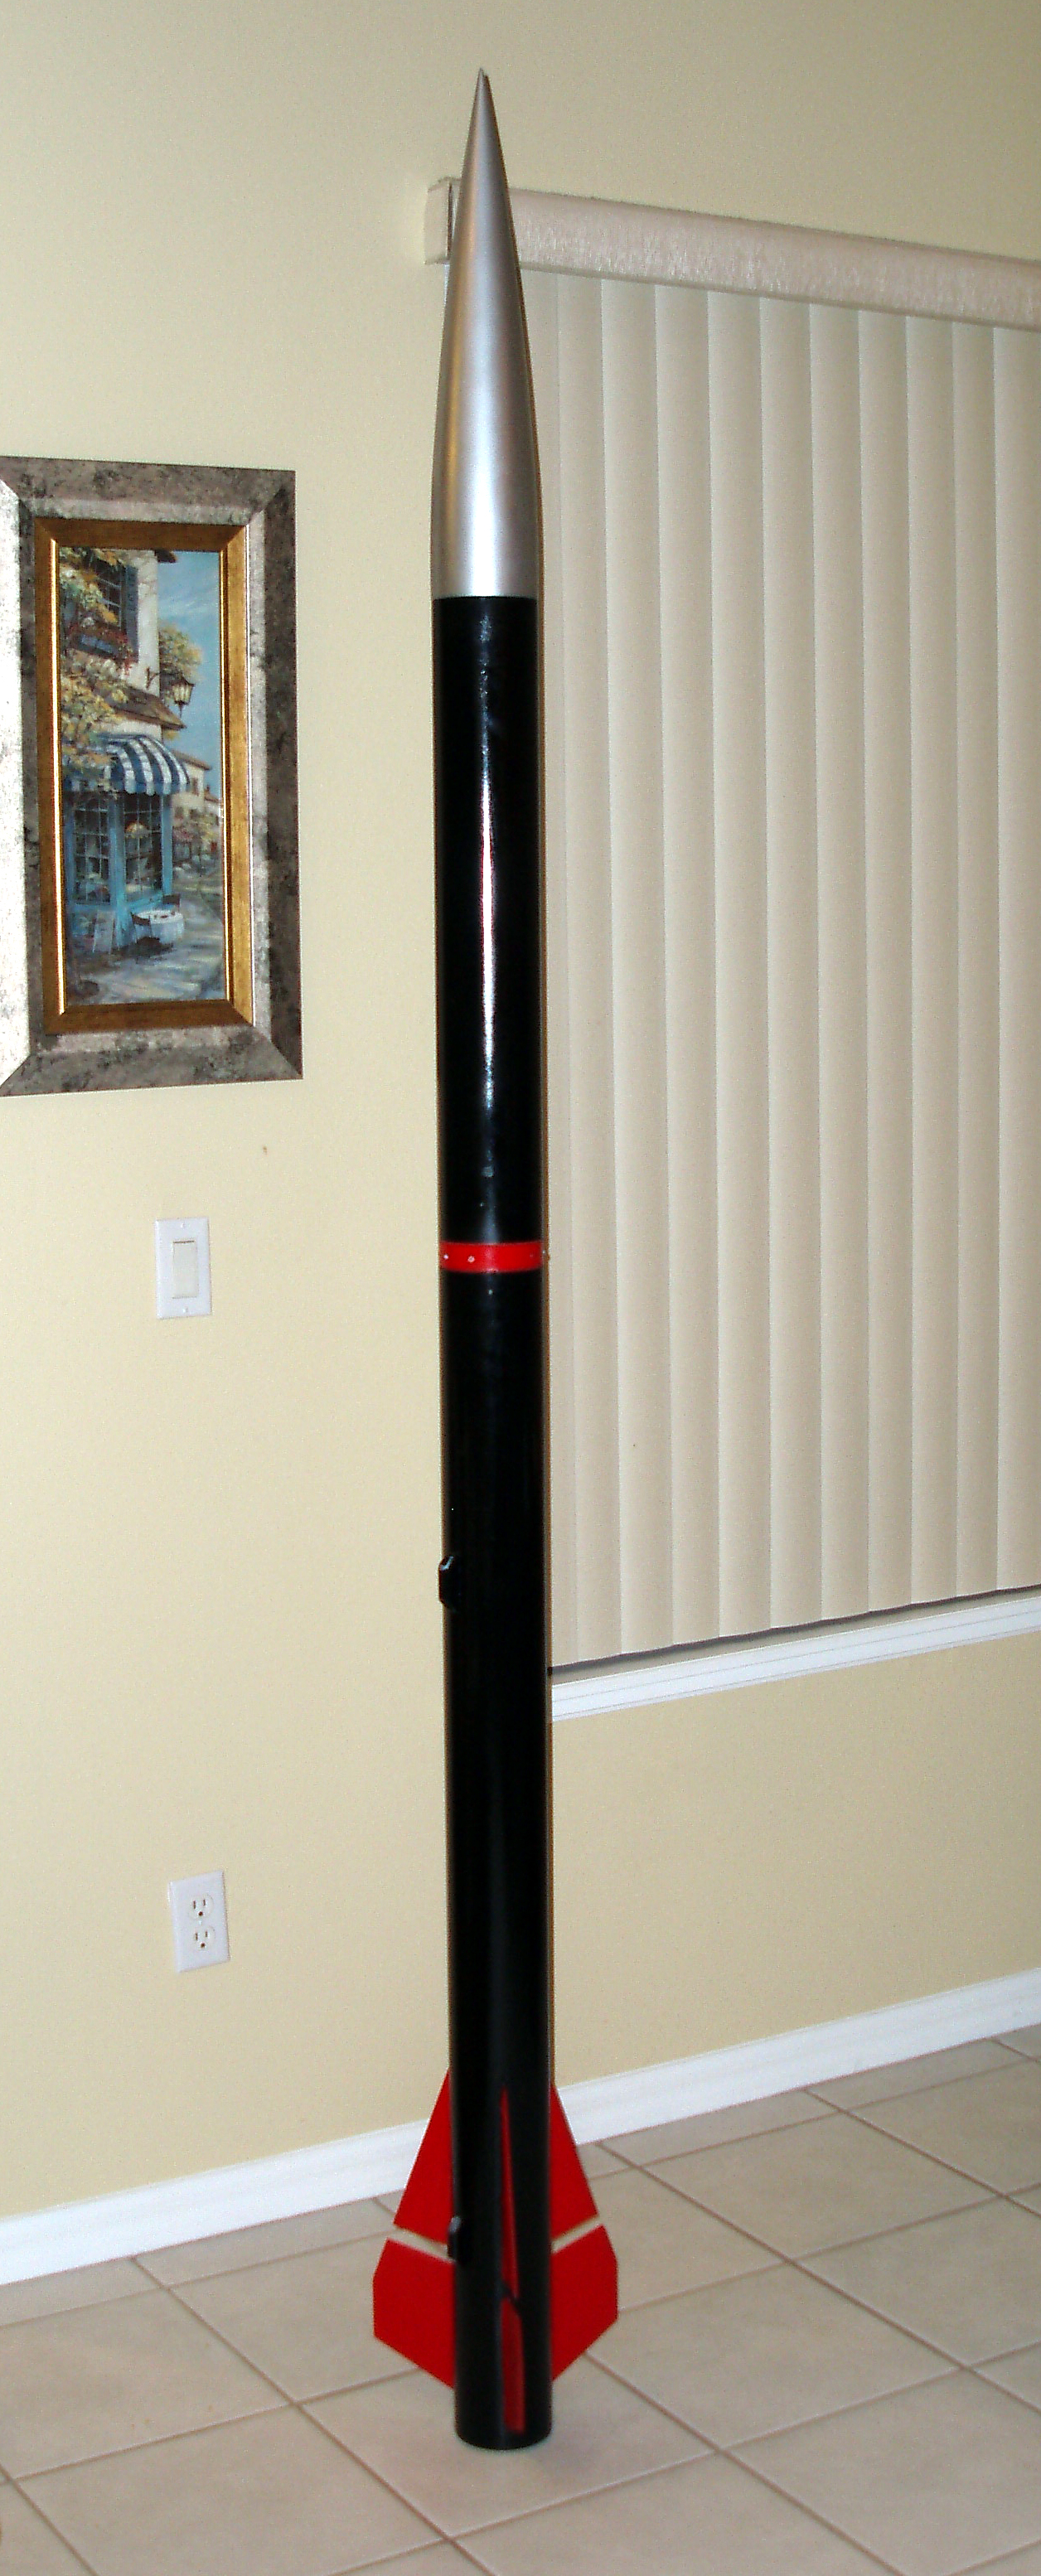
Tikva: A New HopeI've been flying a small video camera in my "Upscale Omega/Cineroc." About half the time, the batteries shake loose, the camera runs out of memory before the launch, or something else happens so that I don't get an onboard video of the flight.So, I decided to double the odds of getting a video from each flight by carrying two cameras in the rocket. I started with my Broken Arrow rocket. It is 4" in diameter and almost 8' tall, so it's large enough to easily carry the two small cameras.
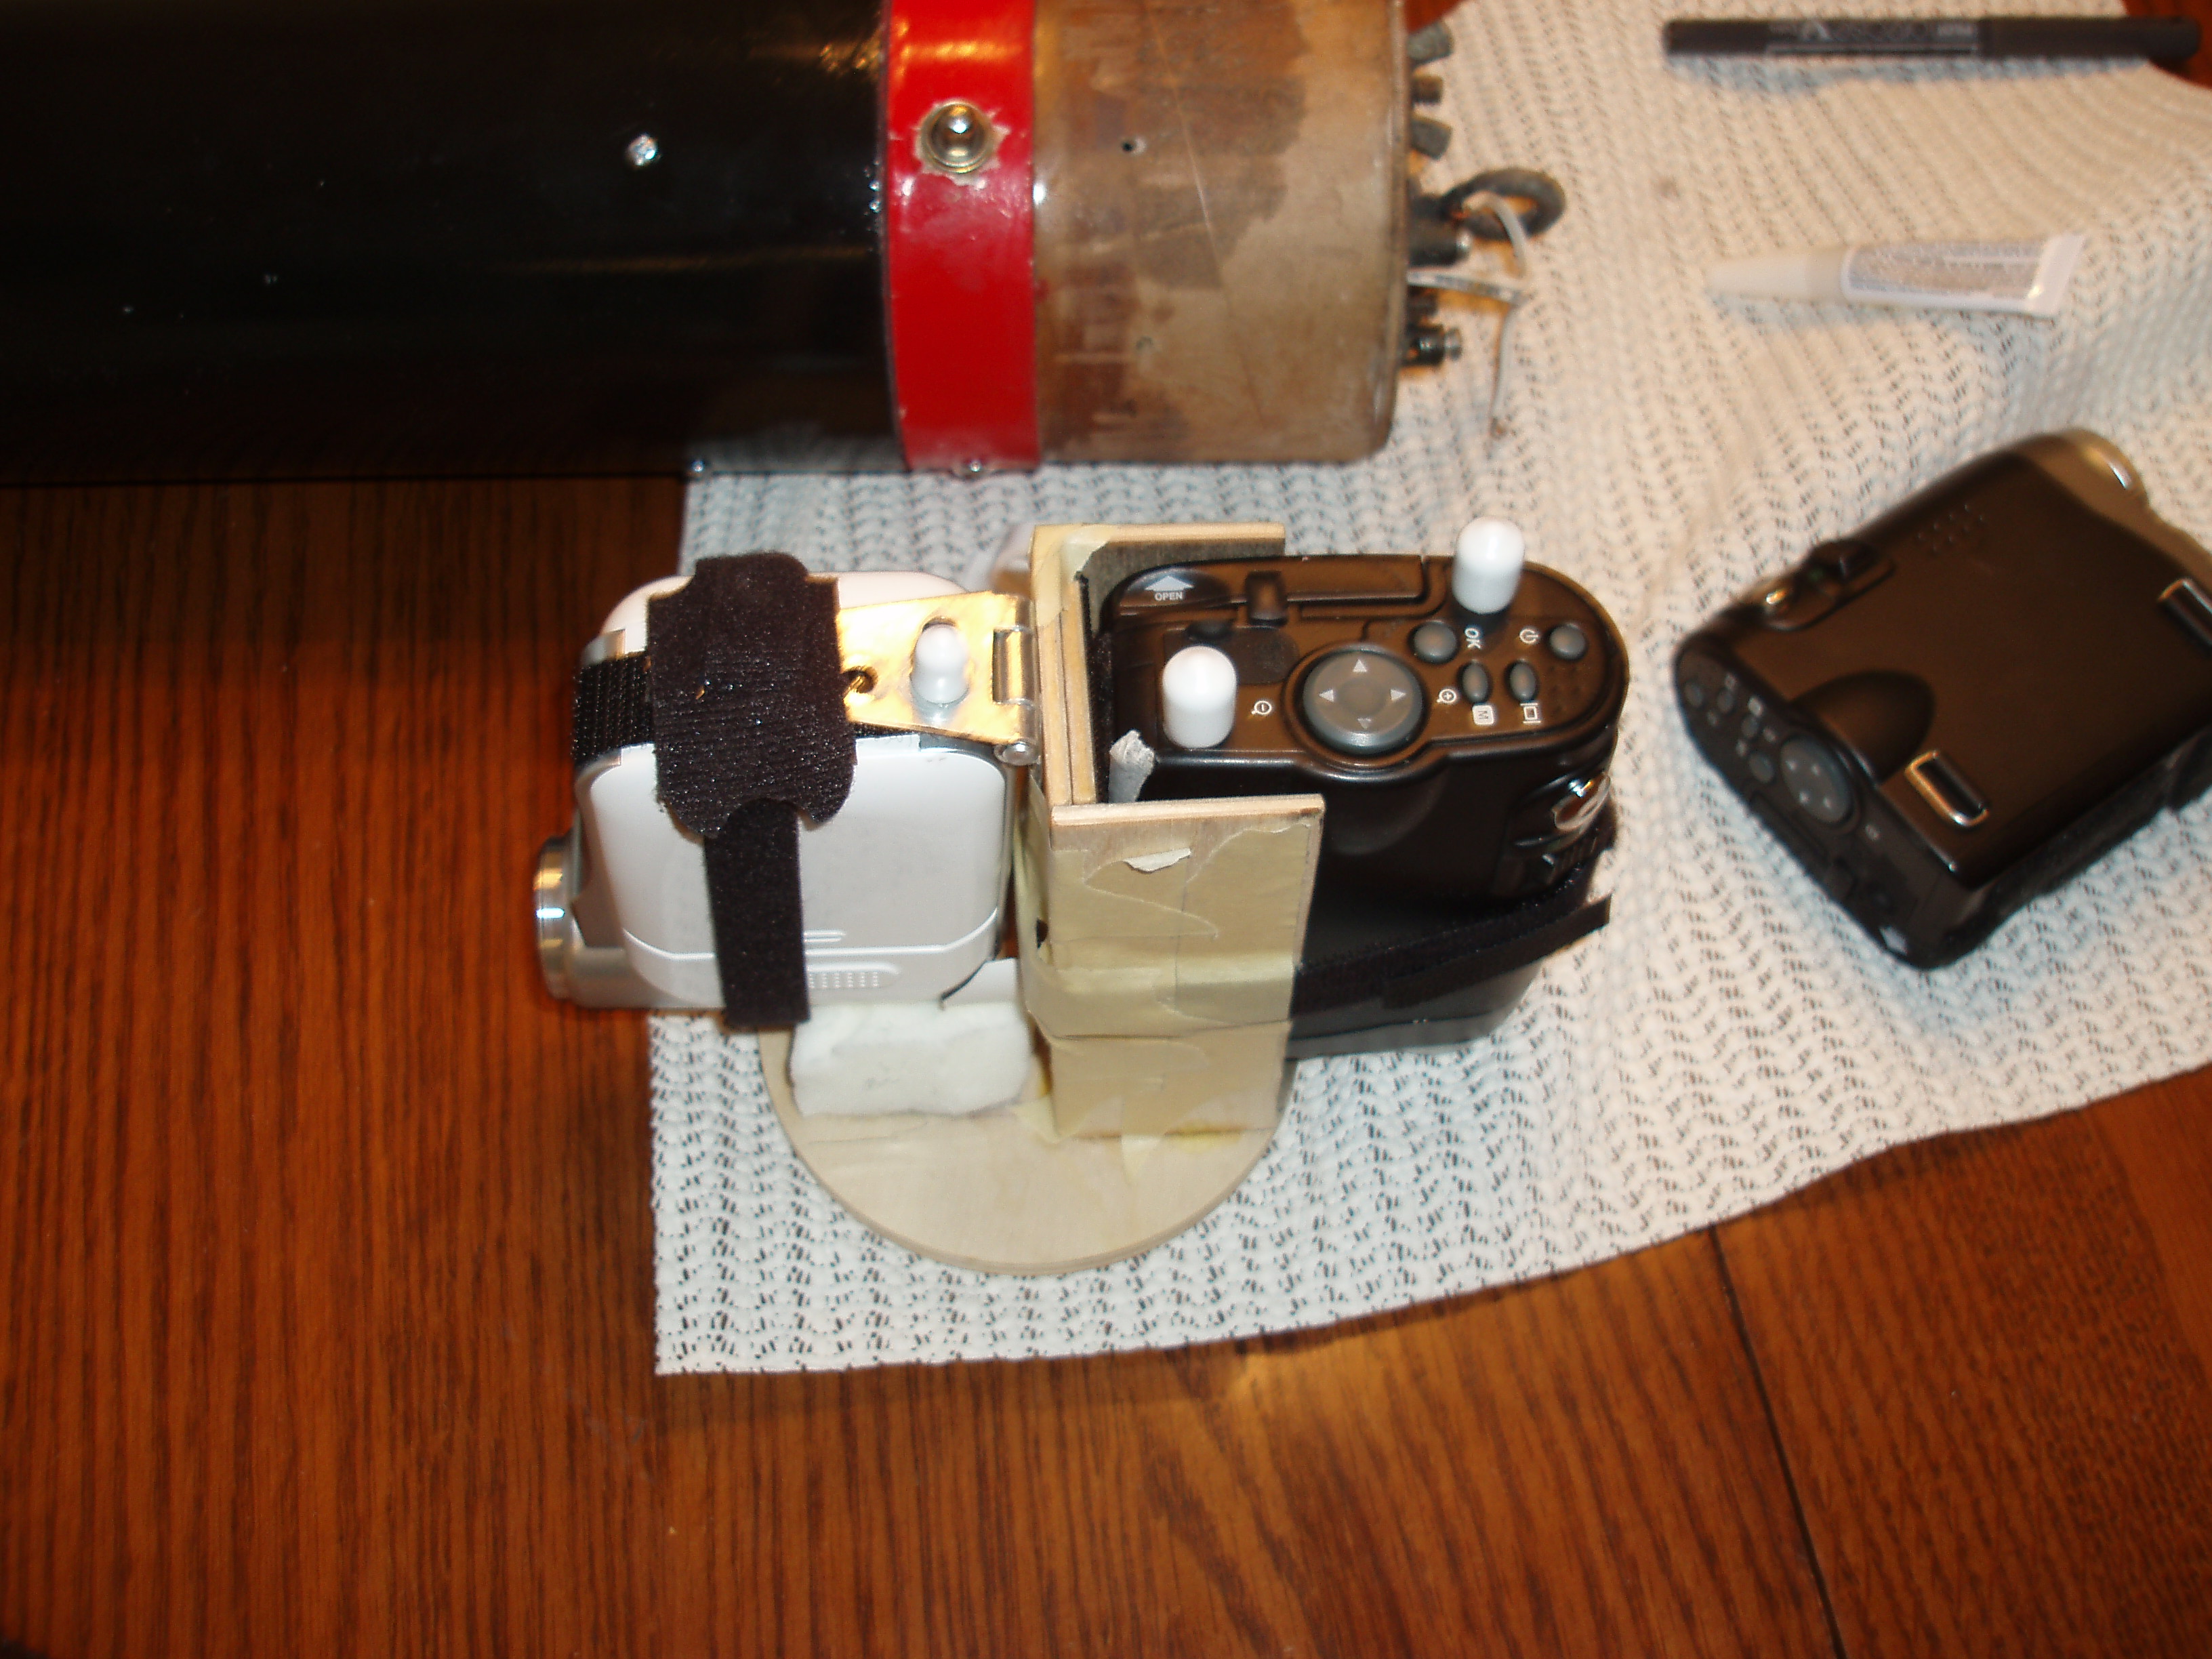
I built a camera payload section to mount in the middle of the rocket, just below the electronics bay. Inside is a wooden frame that holds the two cameras in place using Velcro and pieces of foam.
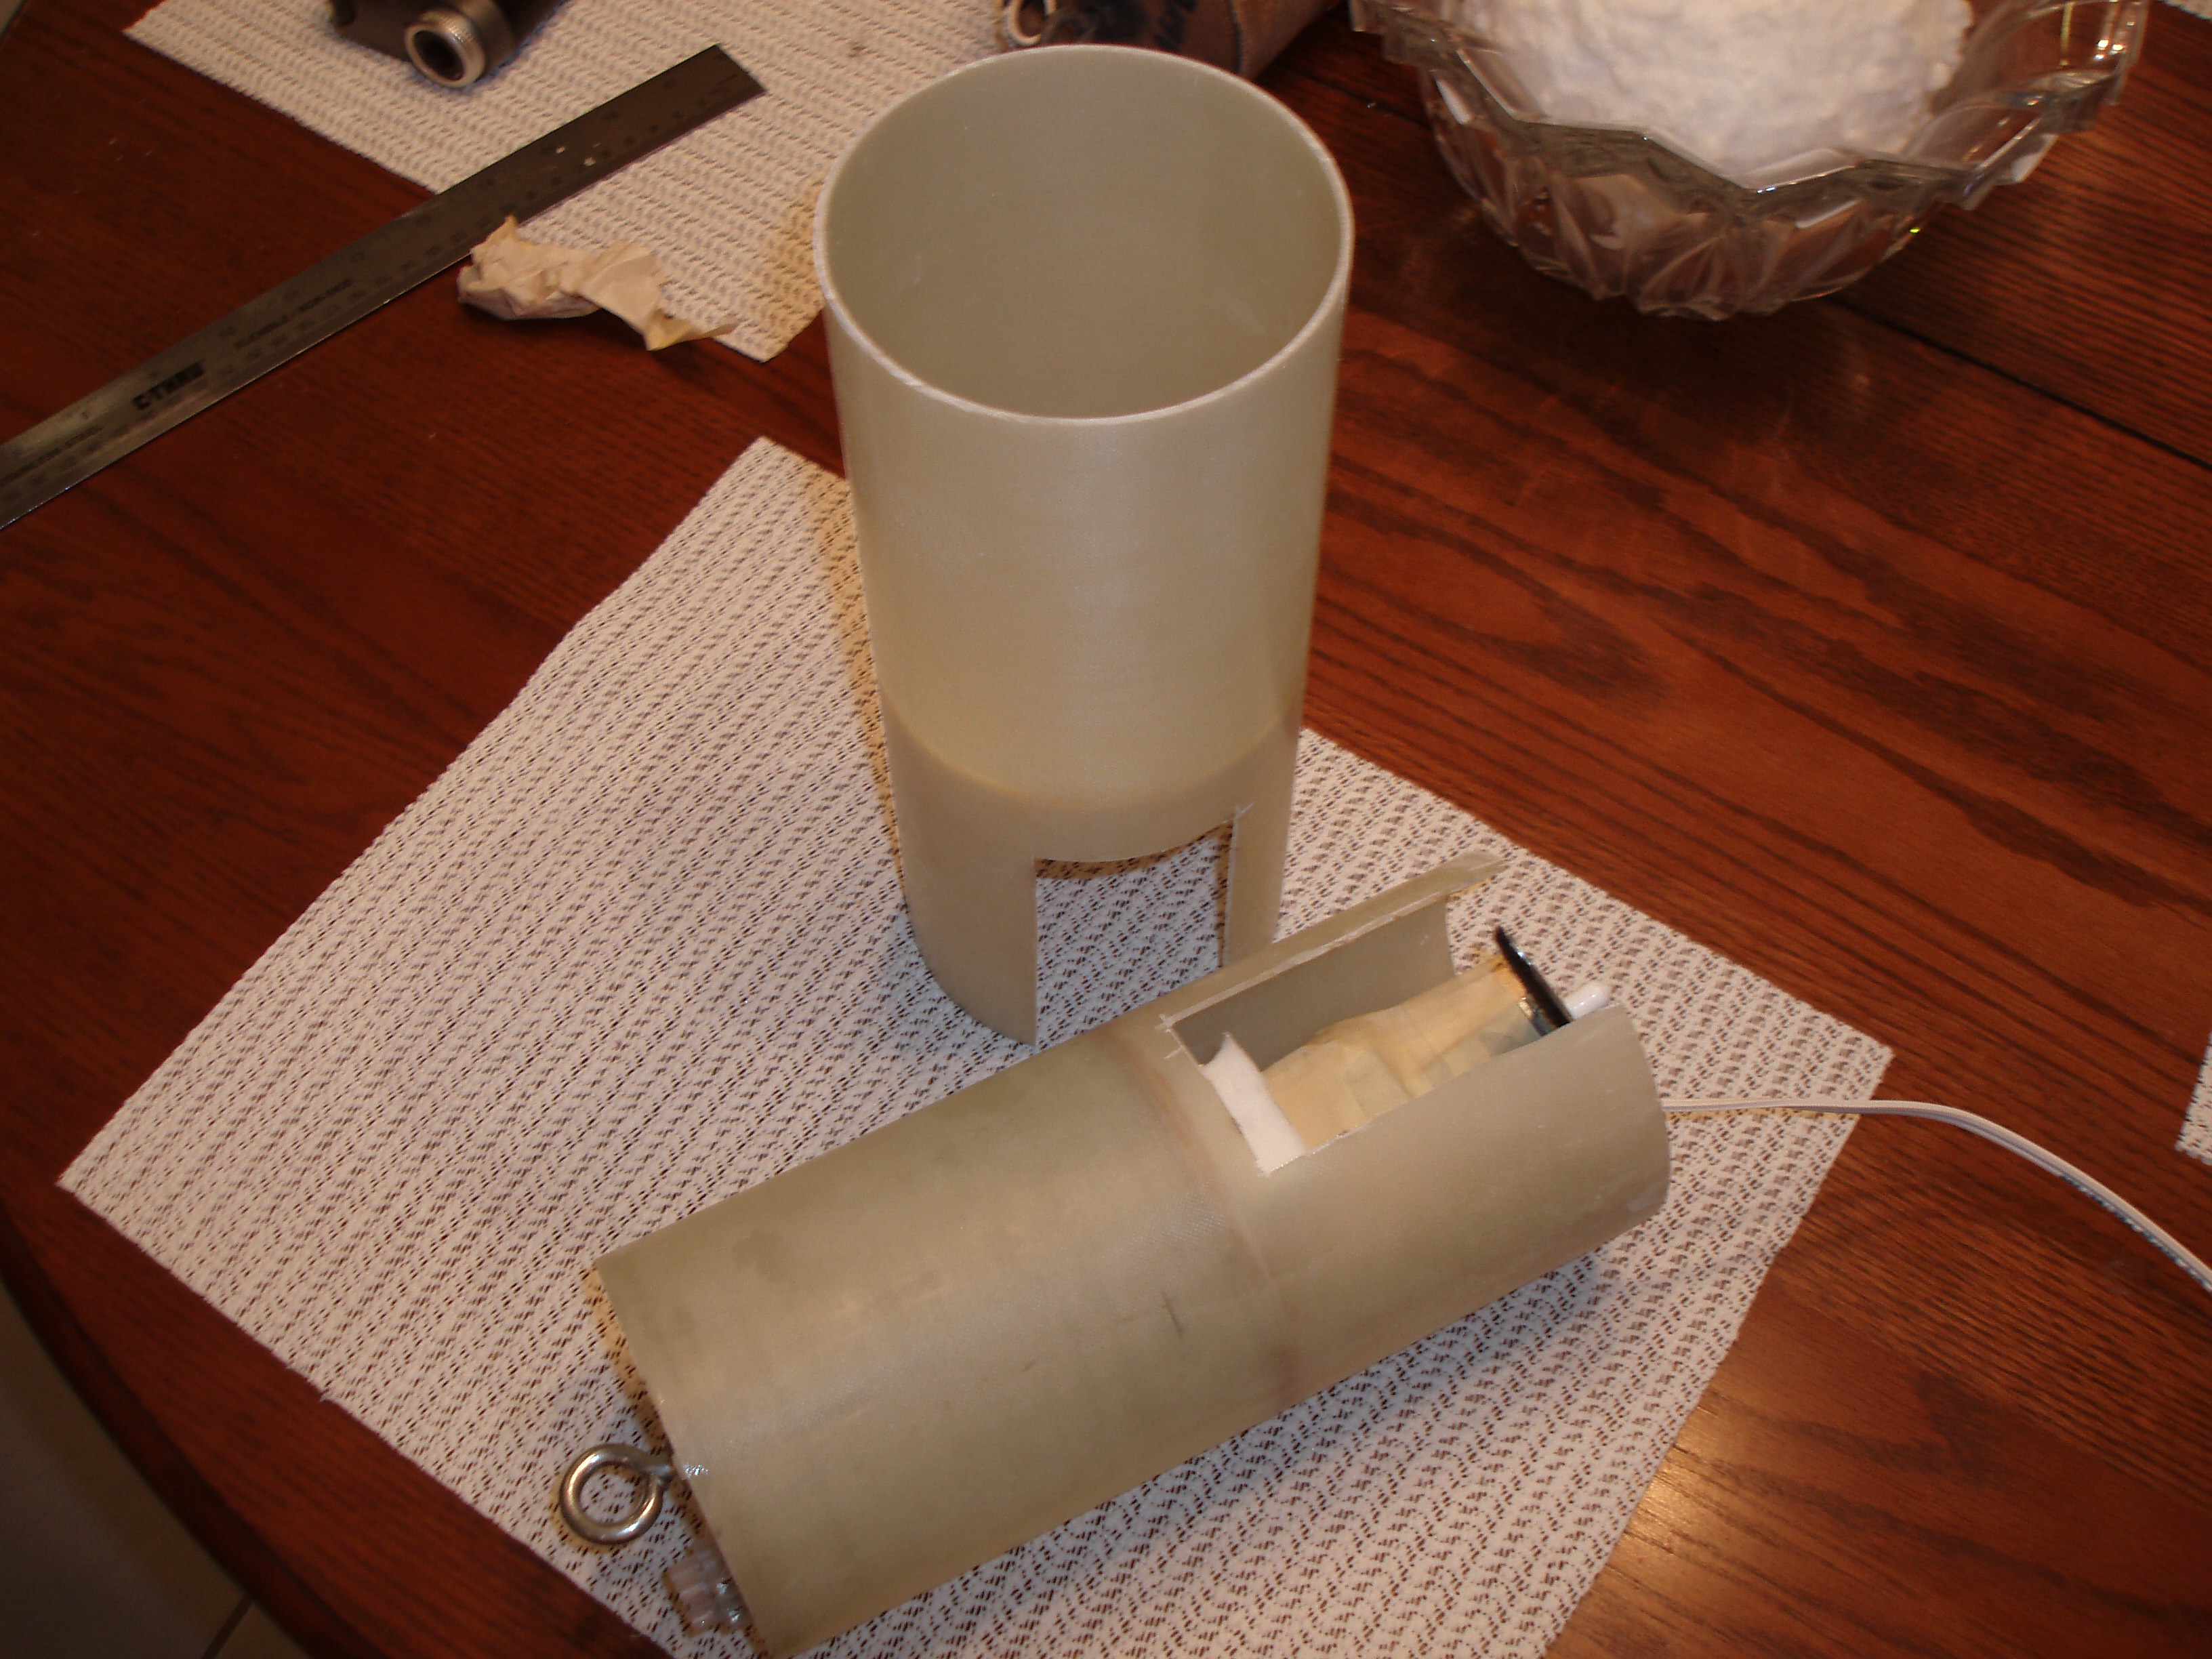
The frame is mounted inside a length of fiberglass coupler tube. A wire runs through the tube to a terminal block to connect the e-bay to the drogue ejection charge.
A short length of 4" fiberglass tubing slides over the coupler.
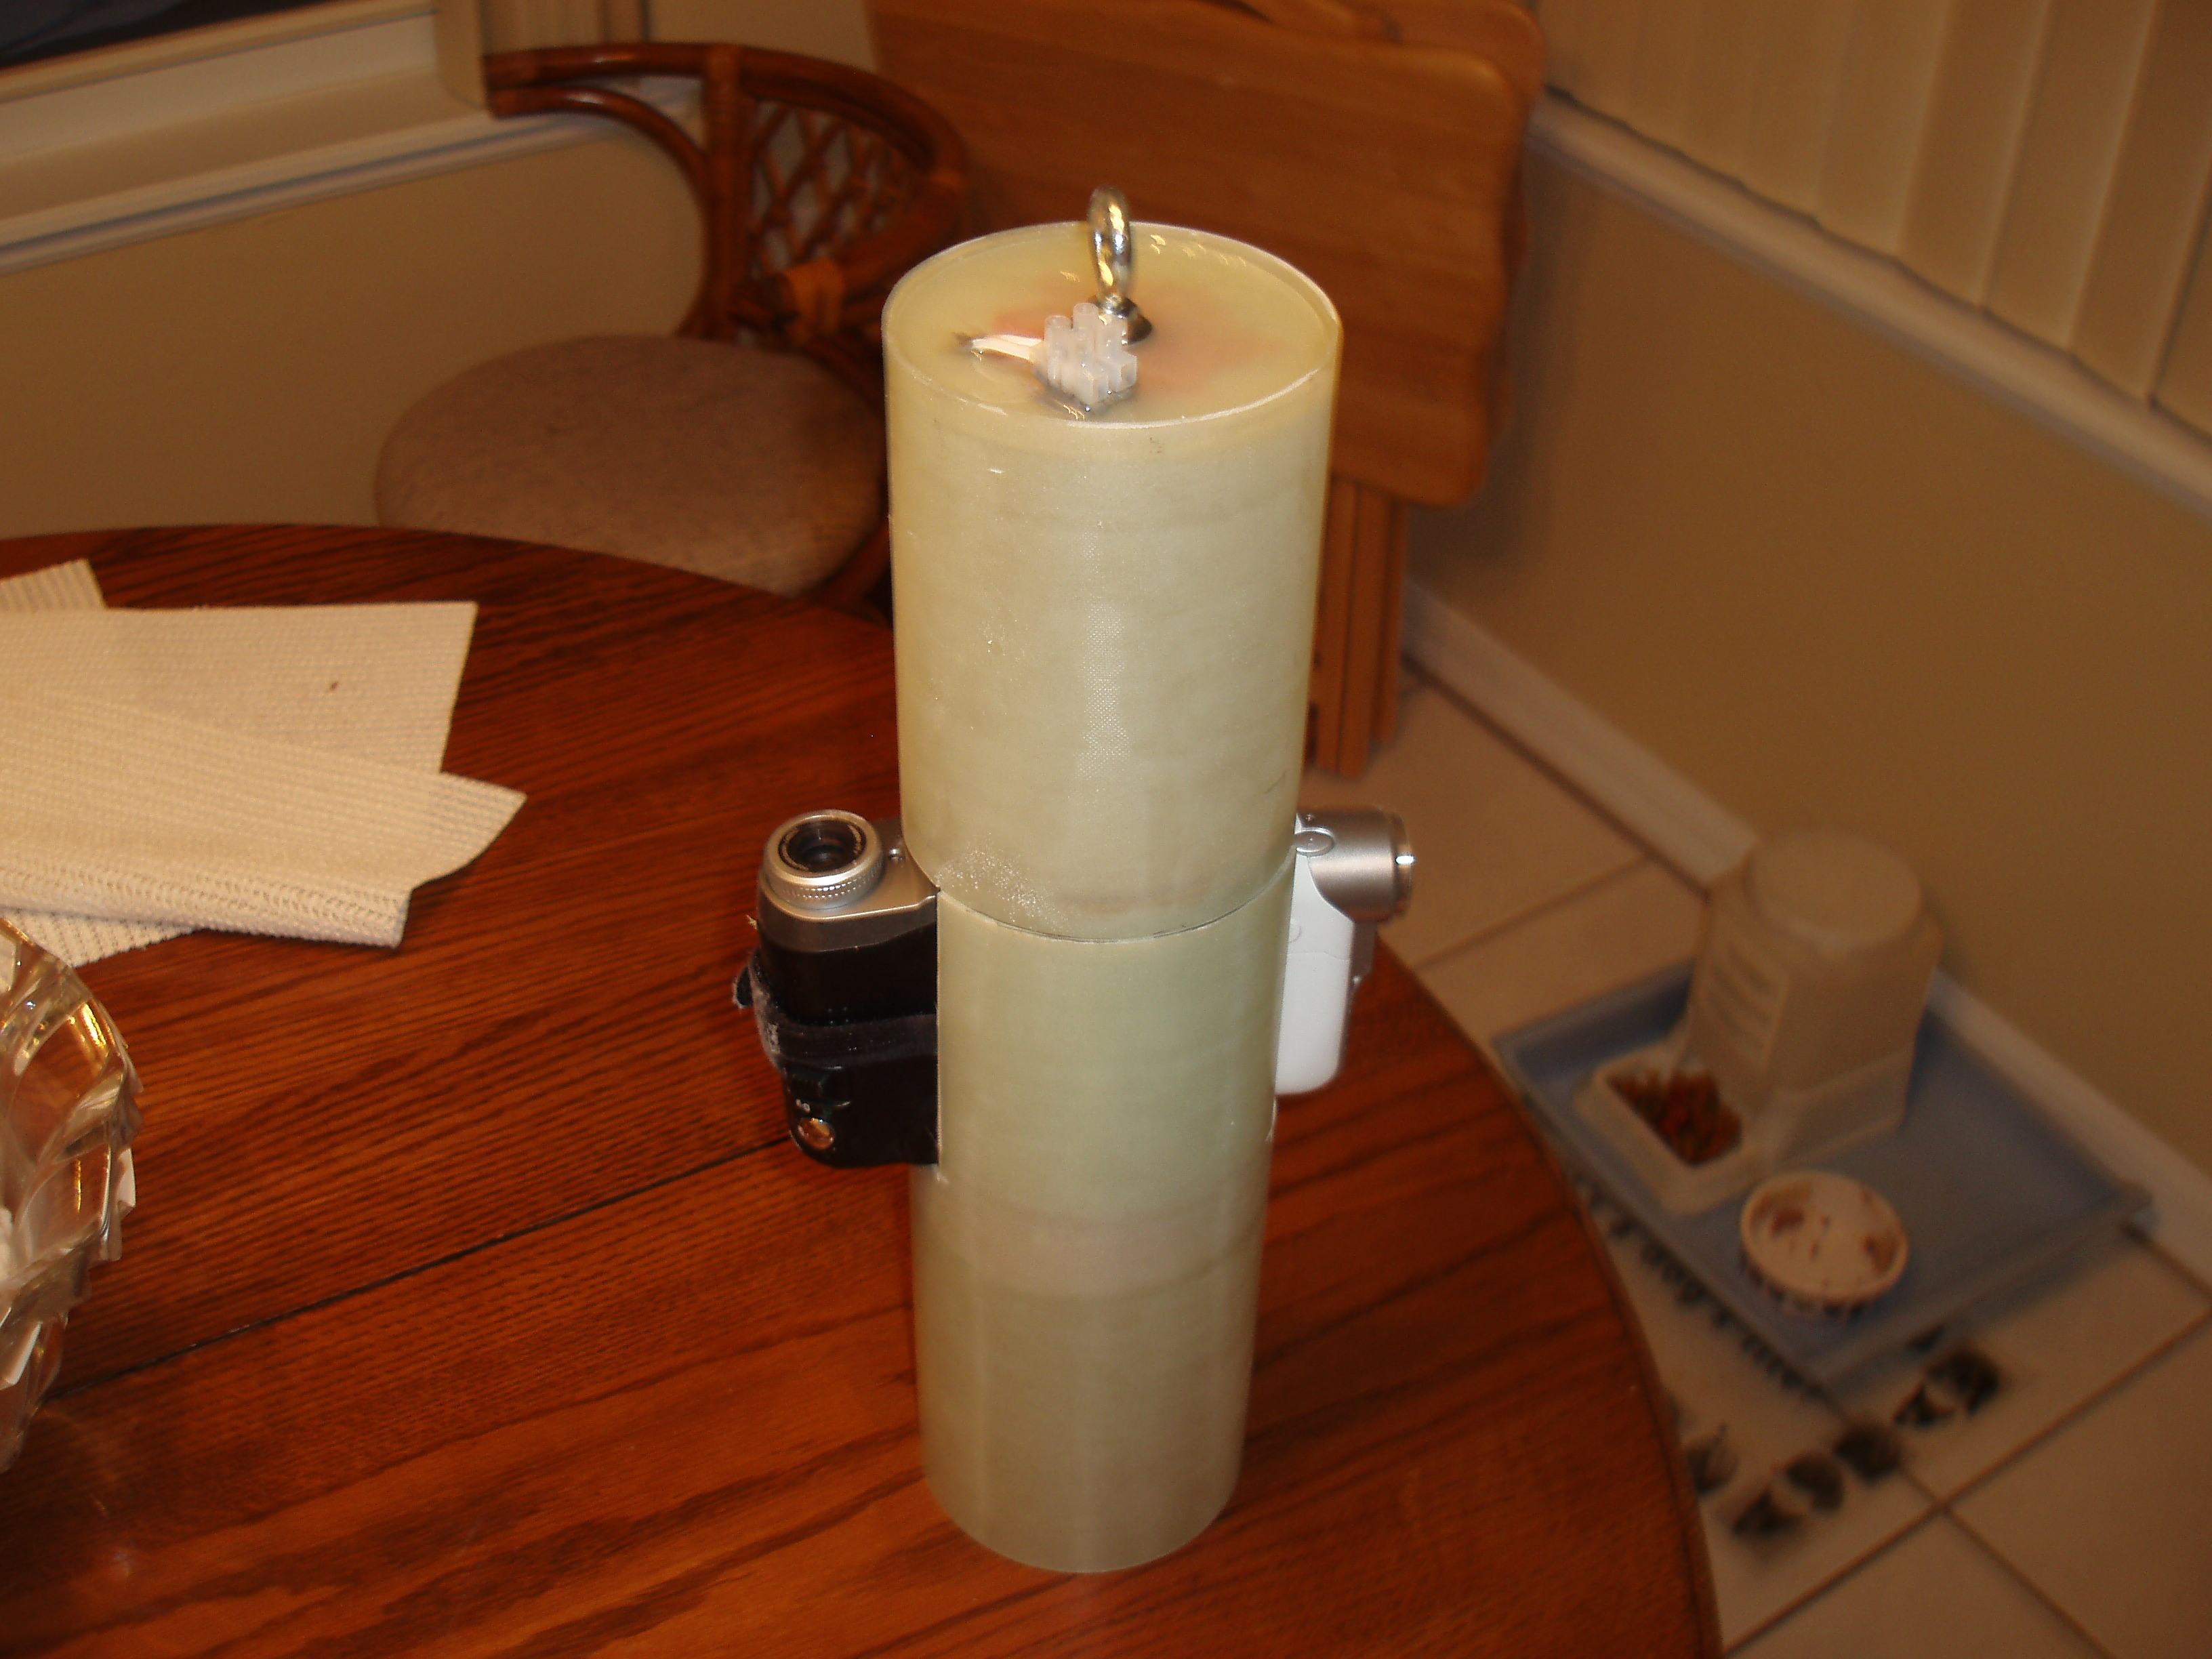
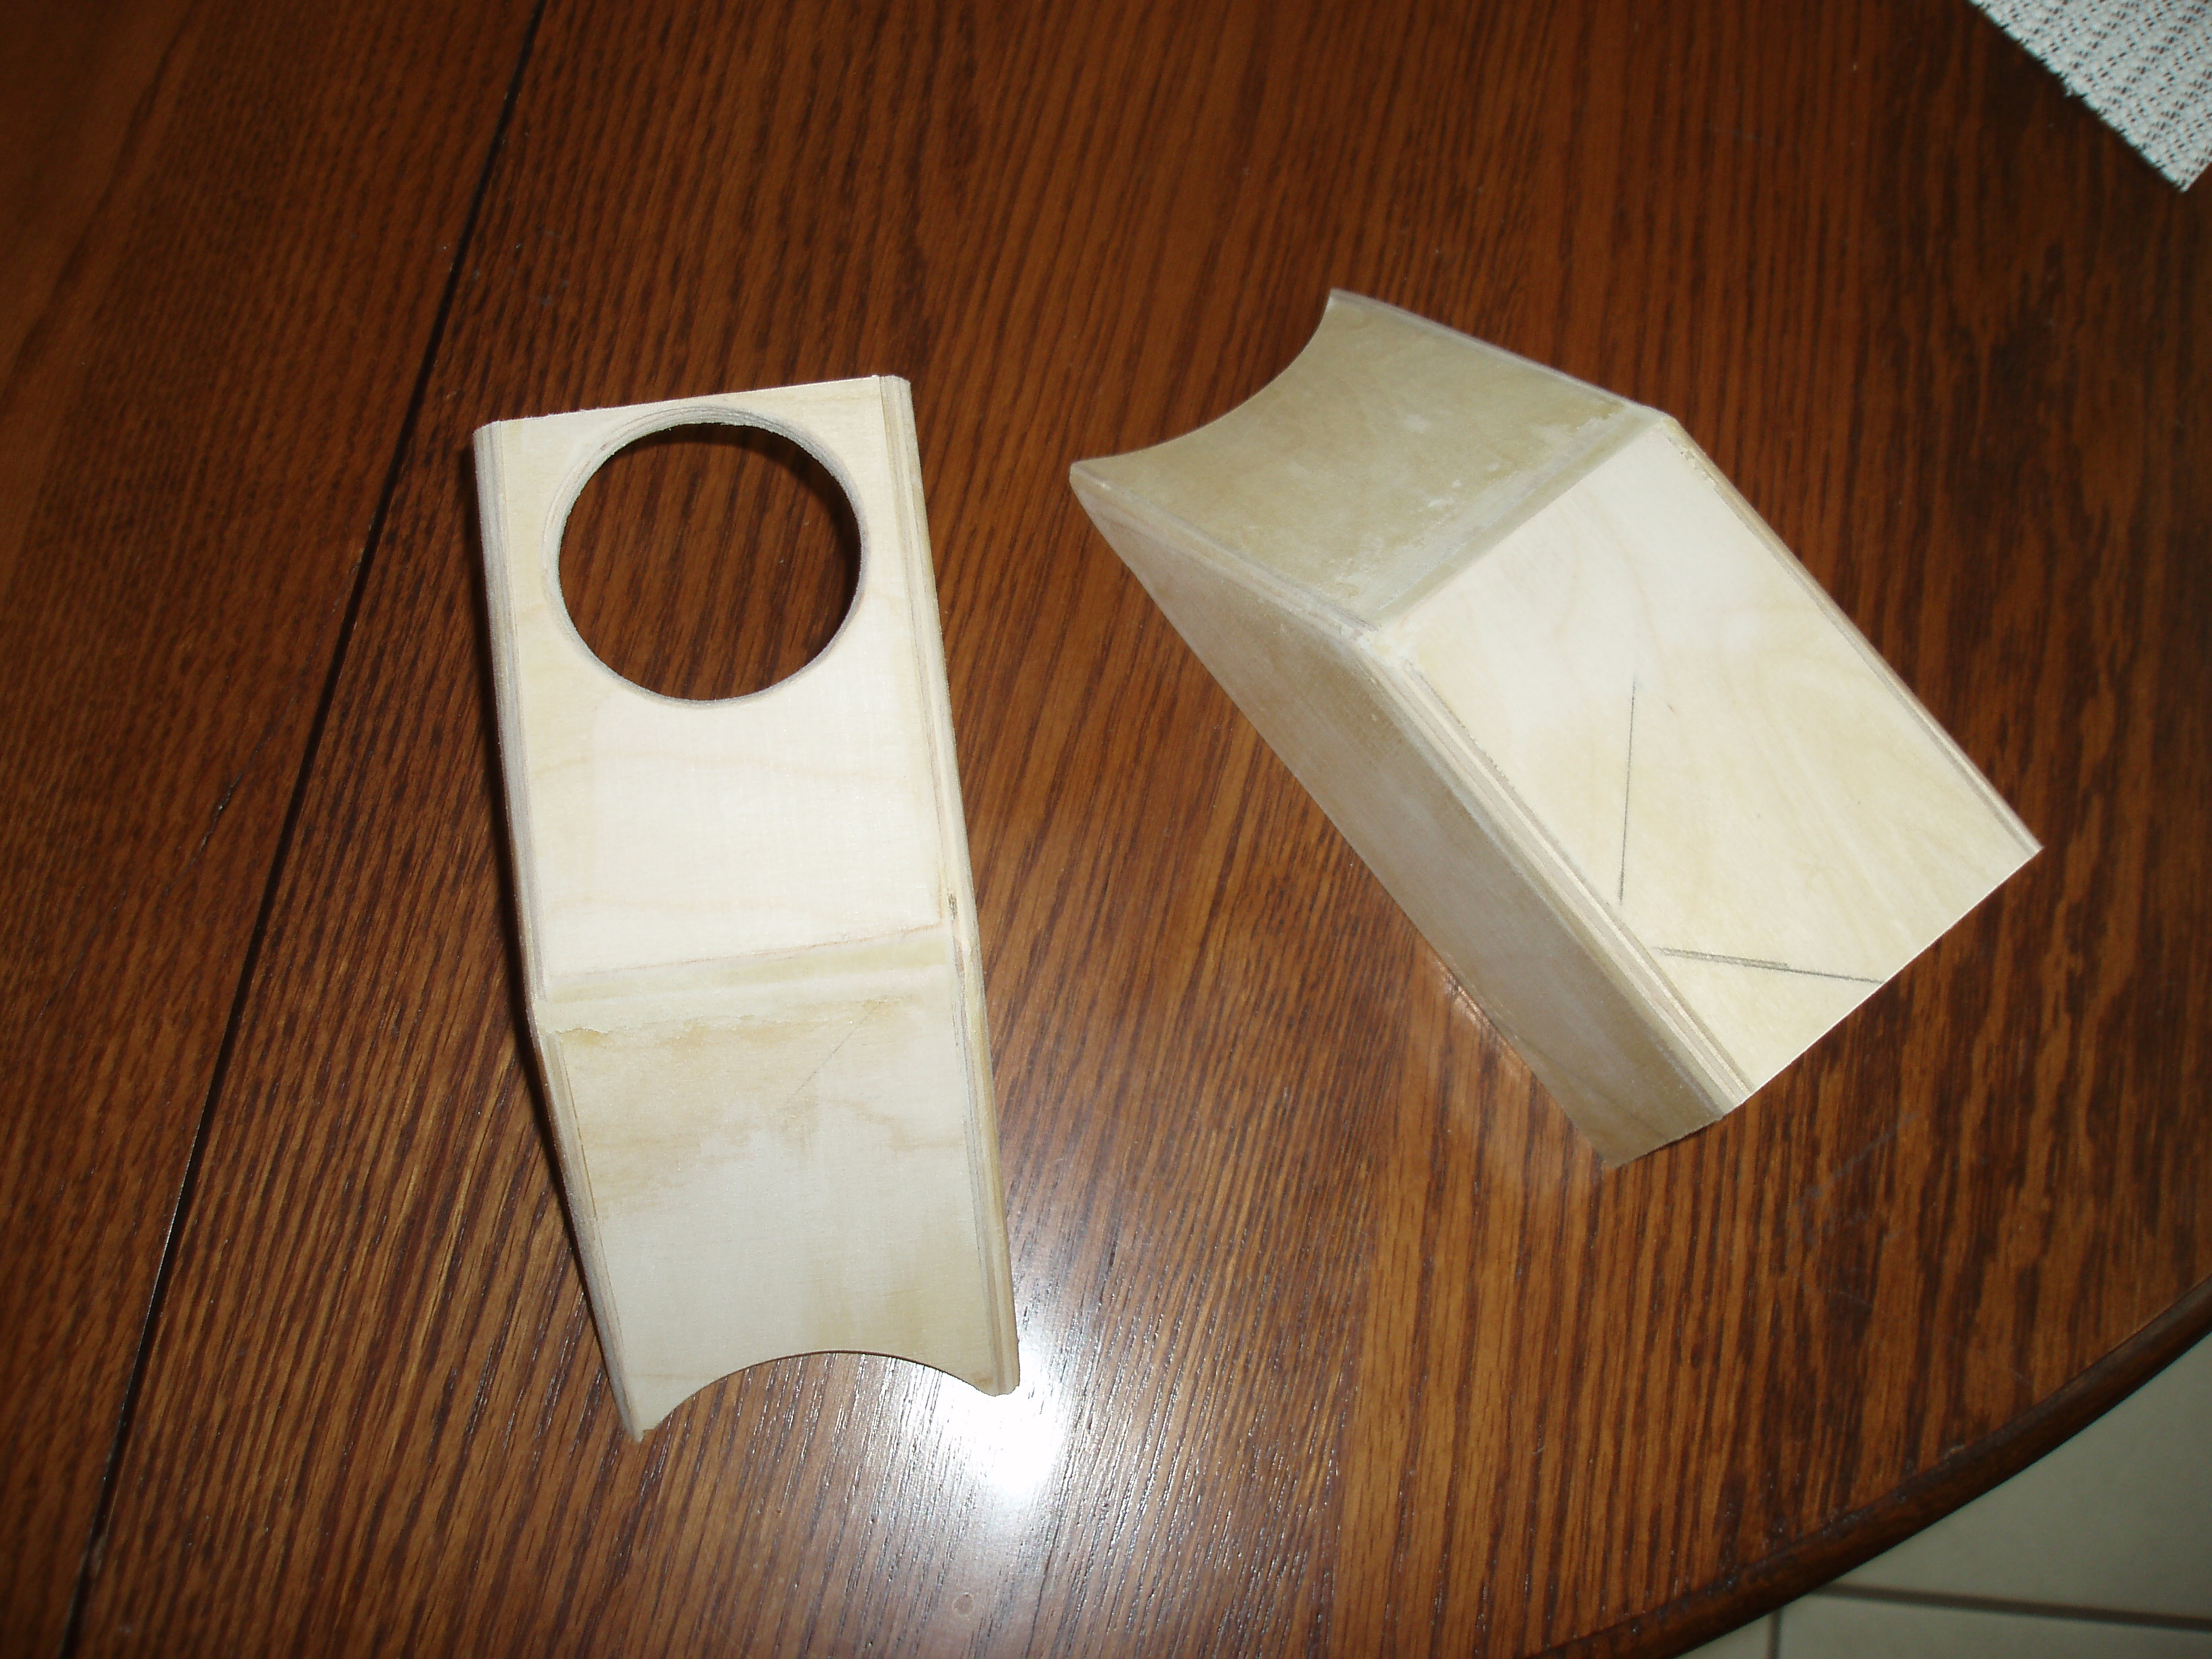
I built shrouds to cover the cameras from pieces of wood.
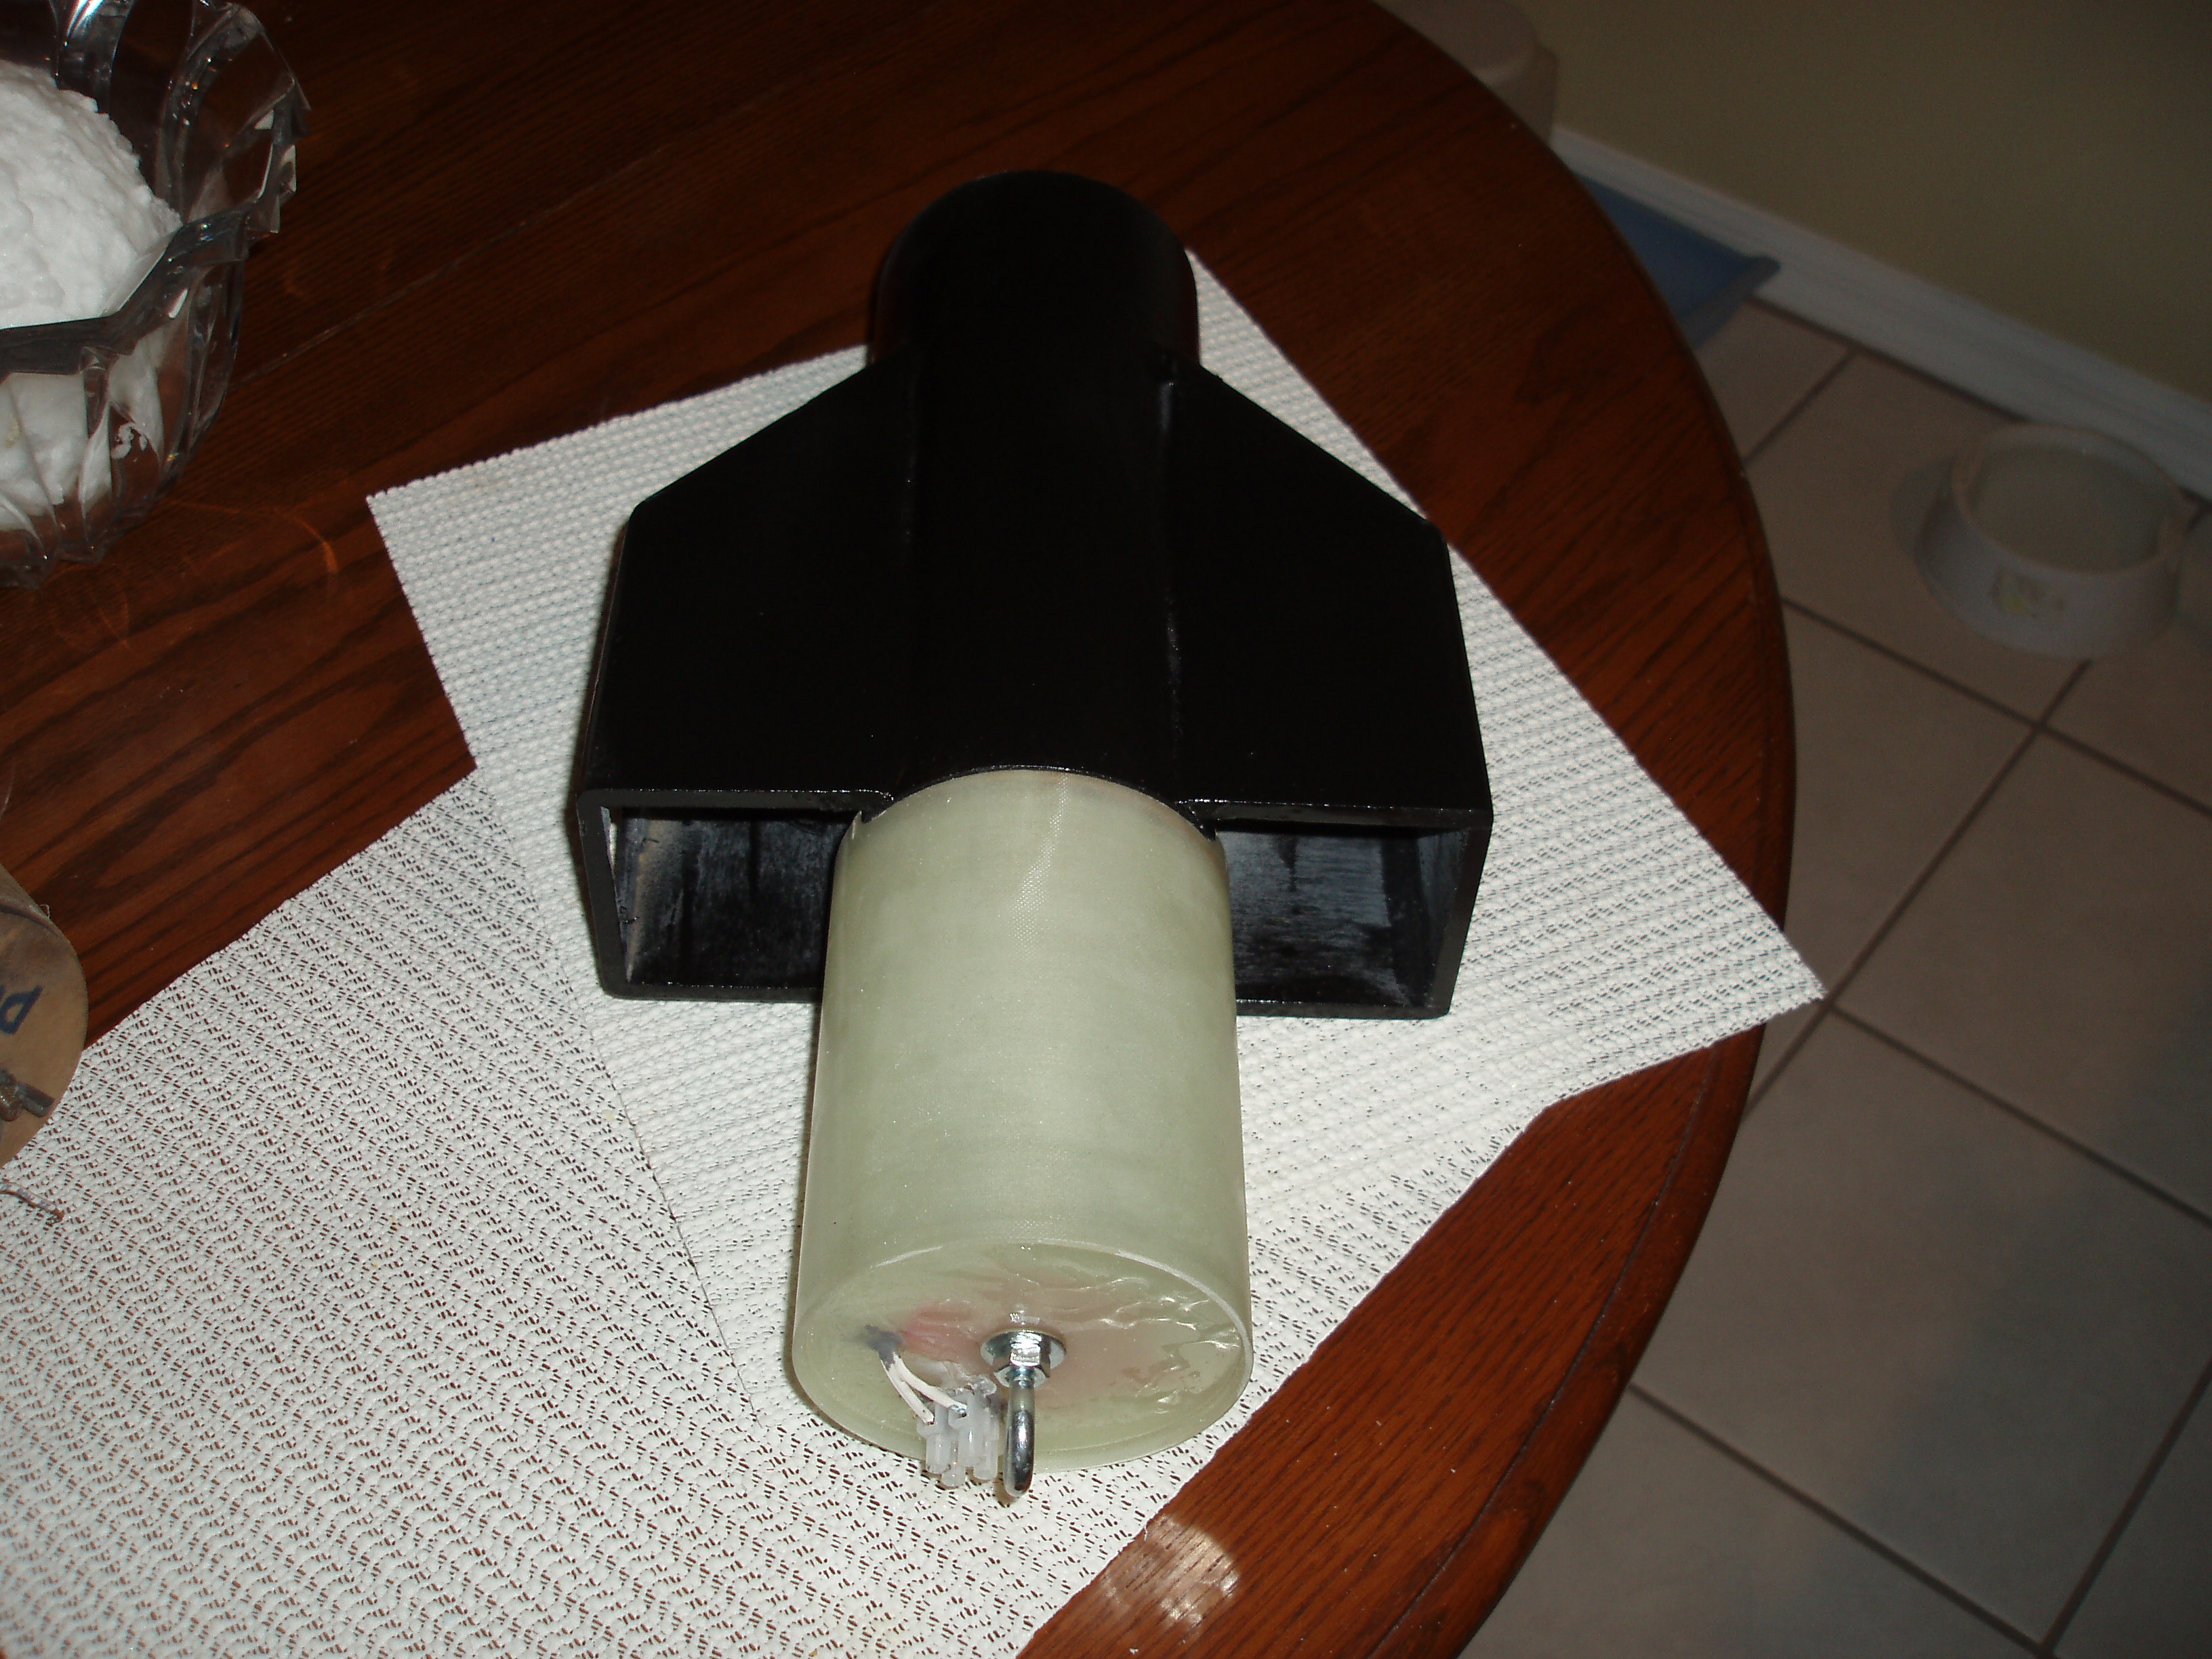
I glued the shrouds to the short 4" tube and added a layer of fiberglass over them and the tube. Then I painted the assembly black to match the rocket.
The completed rocket stood about 8' tall. The camera section is attached with screws to the electronics bay which is screwed to the upper body tube. Shear pins hold the booster to the camera section and the nosecone to the upper body tube.
At the May, 2008, NEFAR launch, I flew the Broken Arrow on a J motor carrying the two video cameras. Only one of the the videos came out. It's the view looking straight out from the rocket. You can view it below.
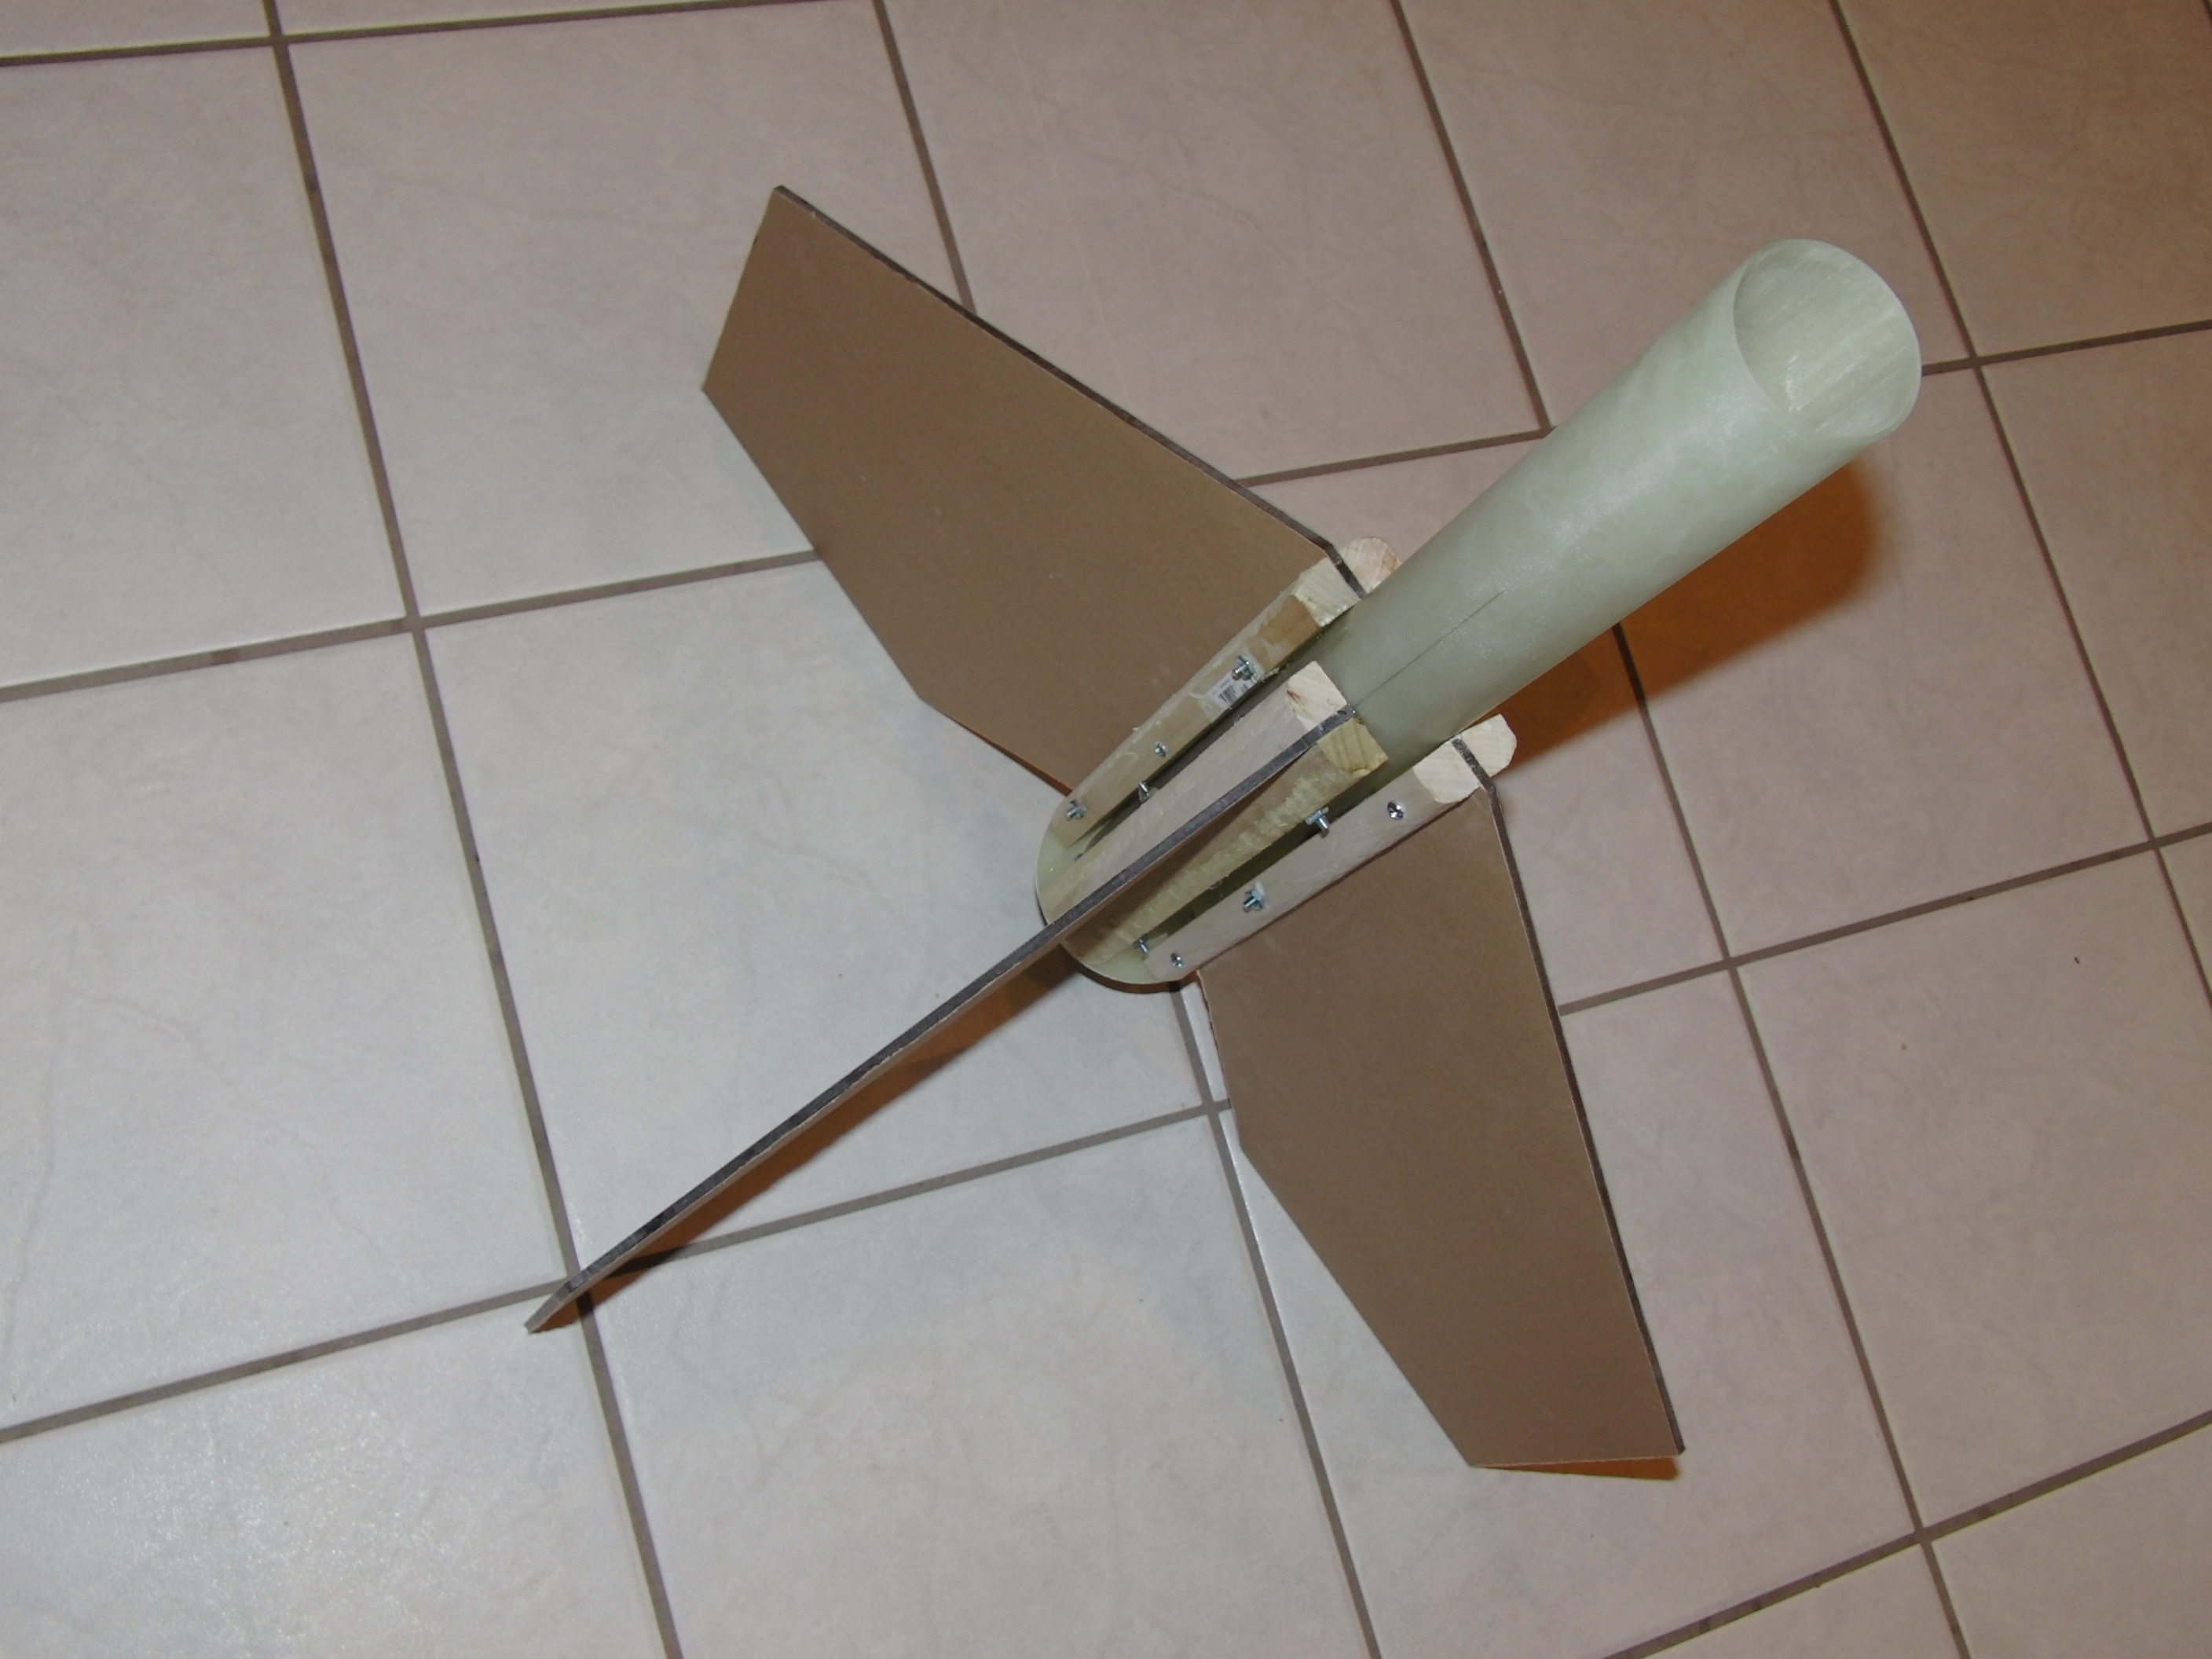
 Although the rocket flew well, I felt it would look better, and perhaps not roll as much, if it had larger fins. So, I decided to build a new booster section. Mostly because I had some Lexan sheets in my garage to use, I decided to make the fins clear. I cut large fins from the Lexan using a jig saw. Then I used my belt sander to make sure they were all the same size and shape.
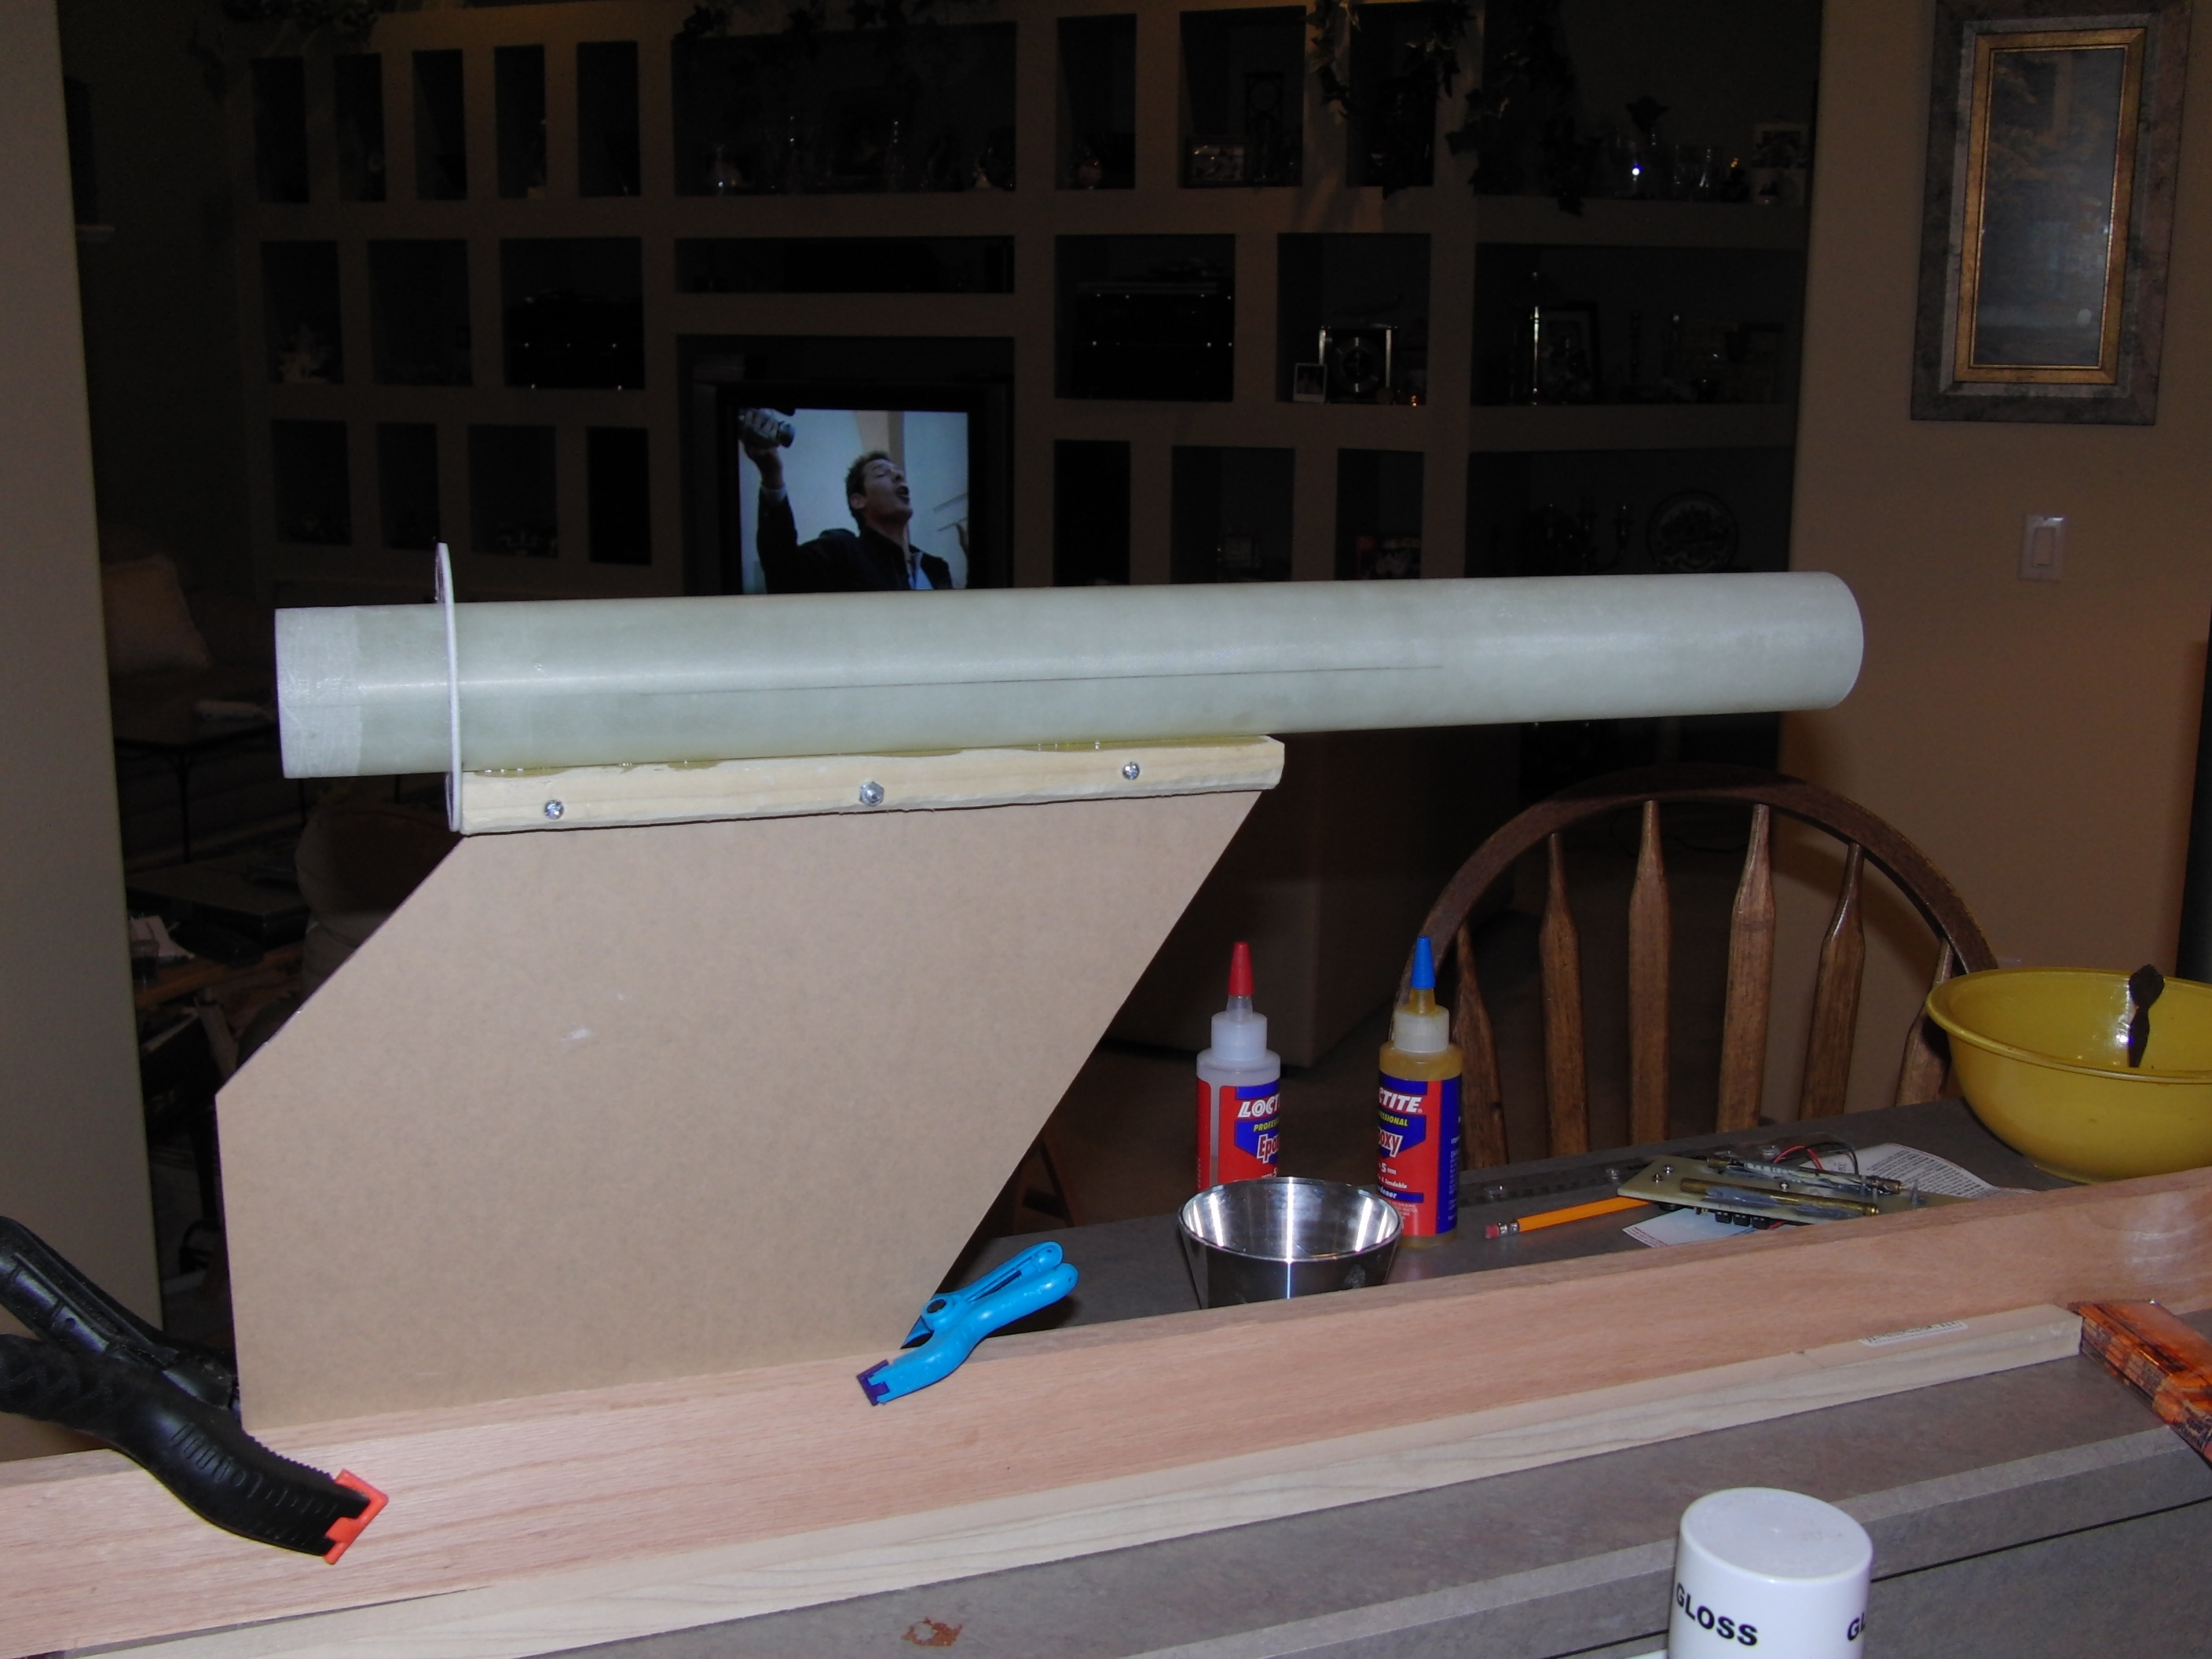
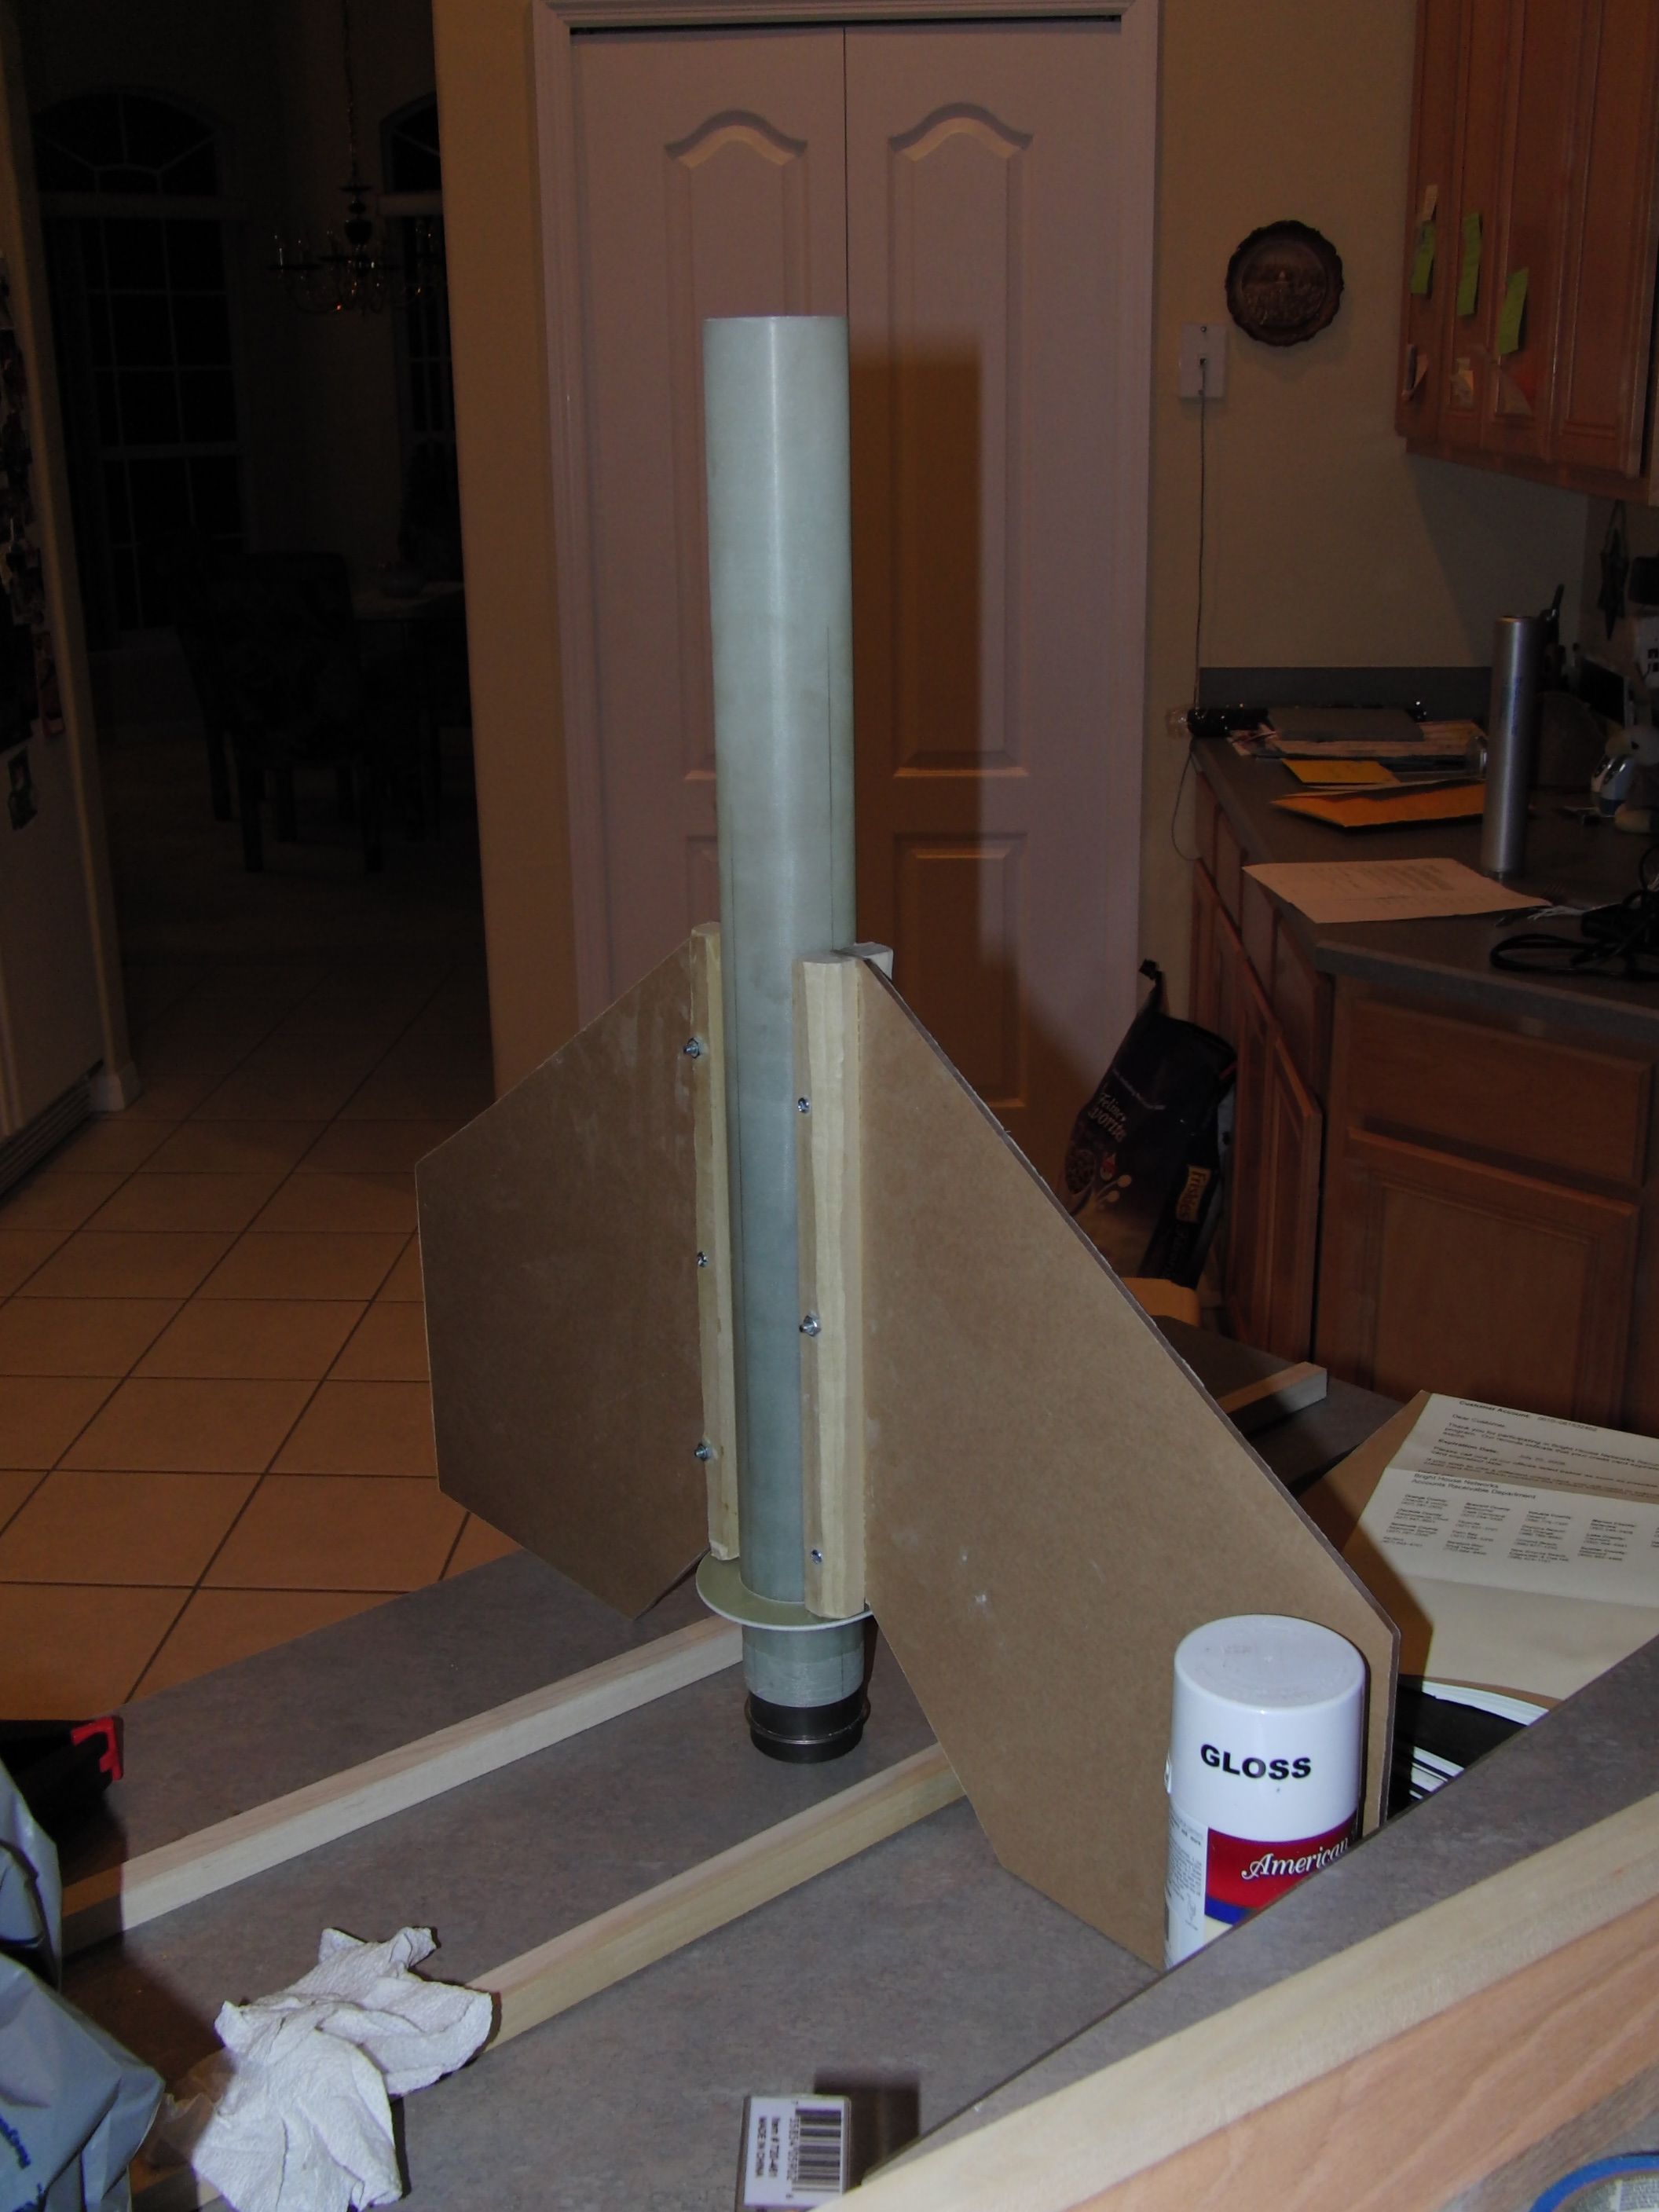
Because it is difficult to glue Lexan to anything else, I screwed boards to the root edge of each fin. Then I glued the fins to the motor tube.
I added an Aero Pack tailcone retainer to the bottom of the motor tube. The resulting fin can looked nice.
I cut slots in a 4" body tube using my Dremel tool. Then I slid the fan can in the bottom of the tube and secured it with epoxy. I filled the gaps along the edge of the fins then painted the booster. Then I cut the paper covering the Lexan along the root edge of the fins and peeled it off.
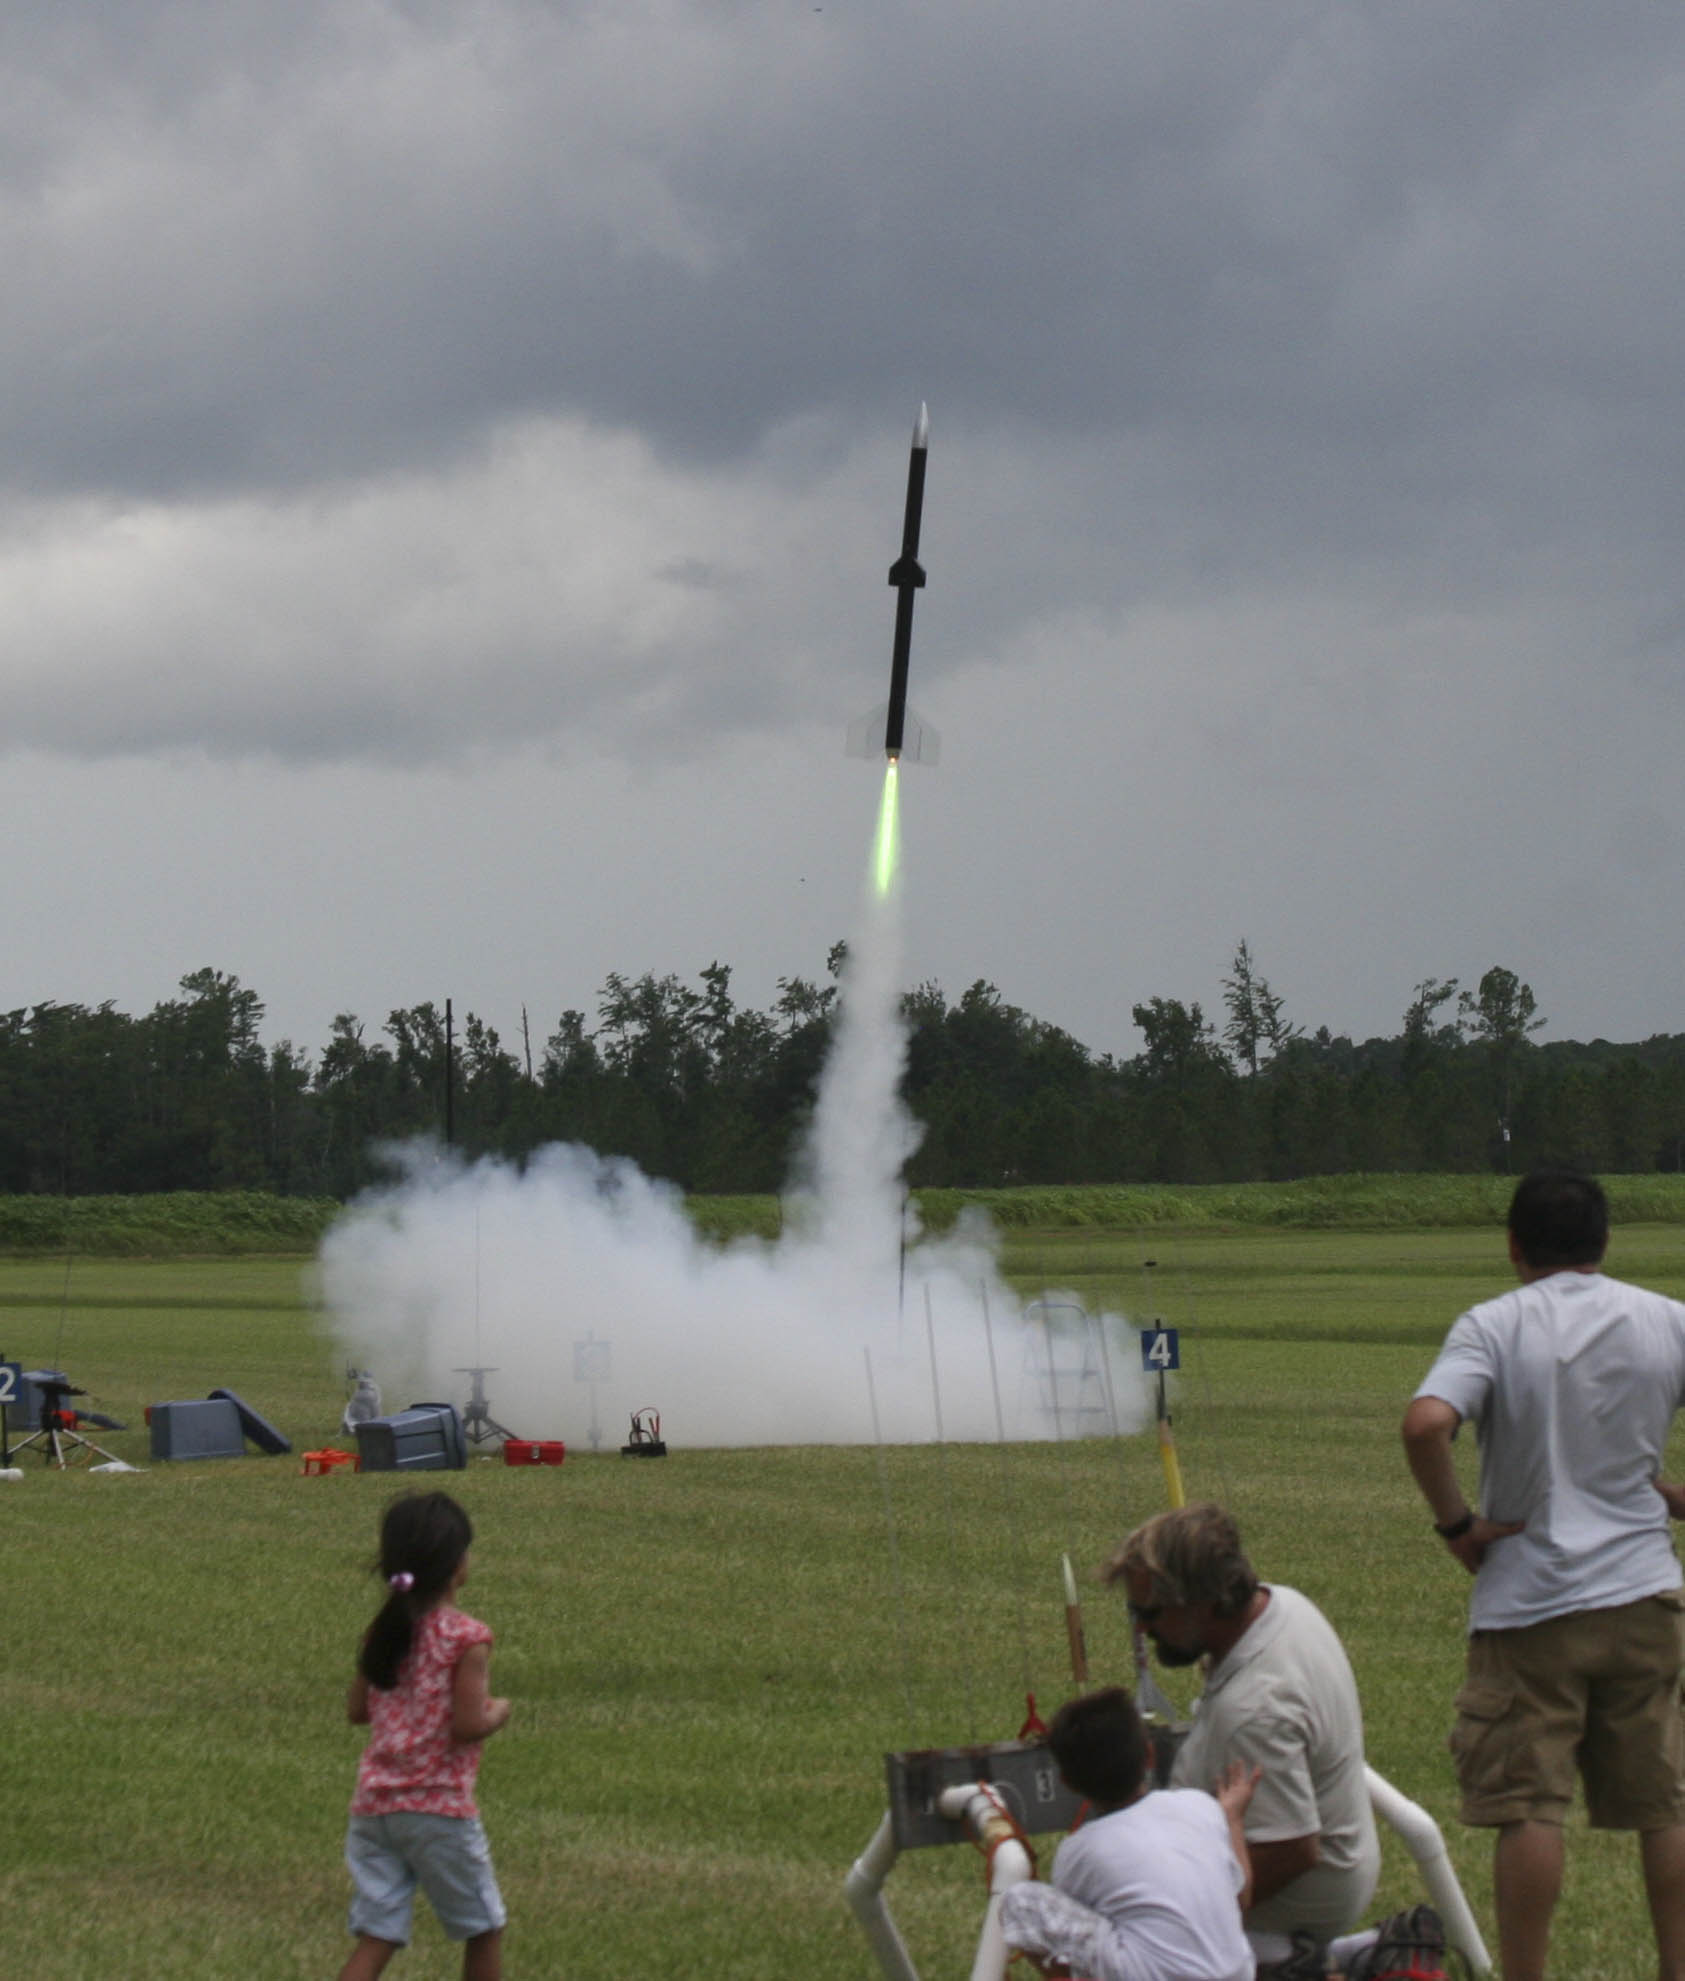
Lexan is heavy and the fins are large, so the fin can adds a lot of weight to the back of the rocket. To ensure that it would be stable, I added a short length of tubing below the nose cone making the rocket longer. The nose cone already had a pound of weight in it and I made it a little heavier. When I weighed the rocket, it was much heavier than I had anticipated, or desired - more than 20 pounds. So, I ran the design through Rocksim and decided I didn't need nearly as much weight in the nose cone. I had a smaller fiberglass nose cone in the garage. I filled it with about a pound of old popcorn kernels which I sealed in with epoxy. So, now the rocket's not quite as heavy - or tall. Bracha named the rocket "Tikva" (which means "Hope") just before I launched it at the July, 2008, NEFAR launch. The name fits because I was hoping it would work in the gusty post-thunderstorm winds.
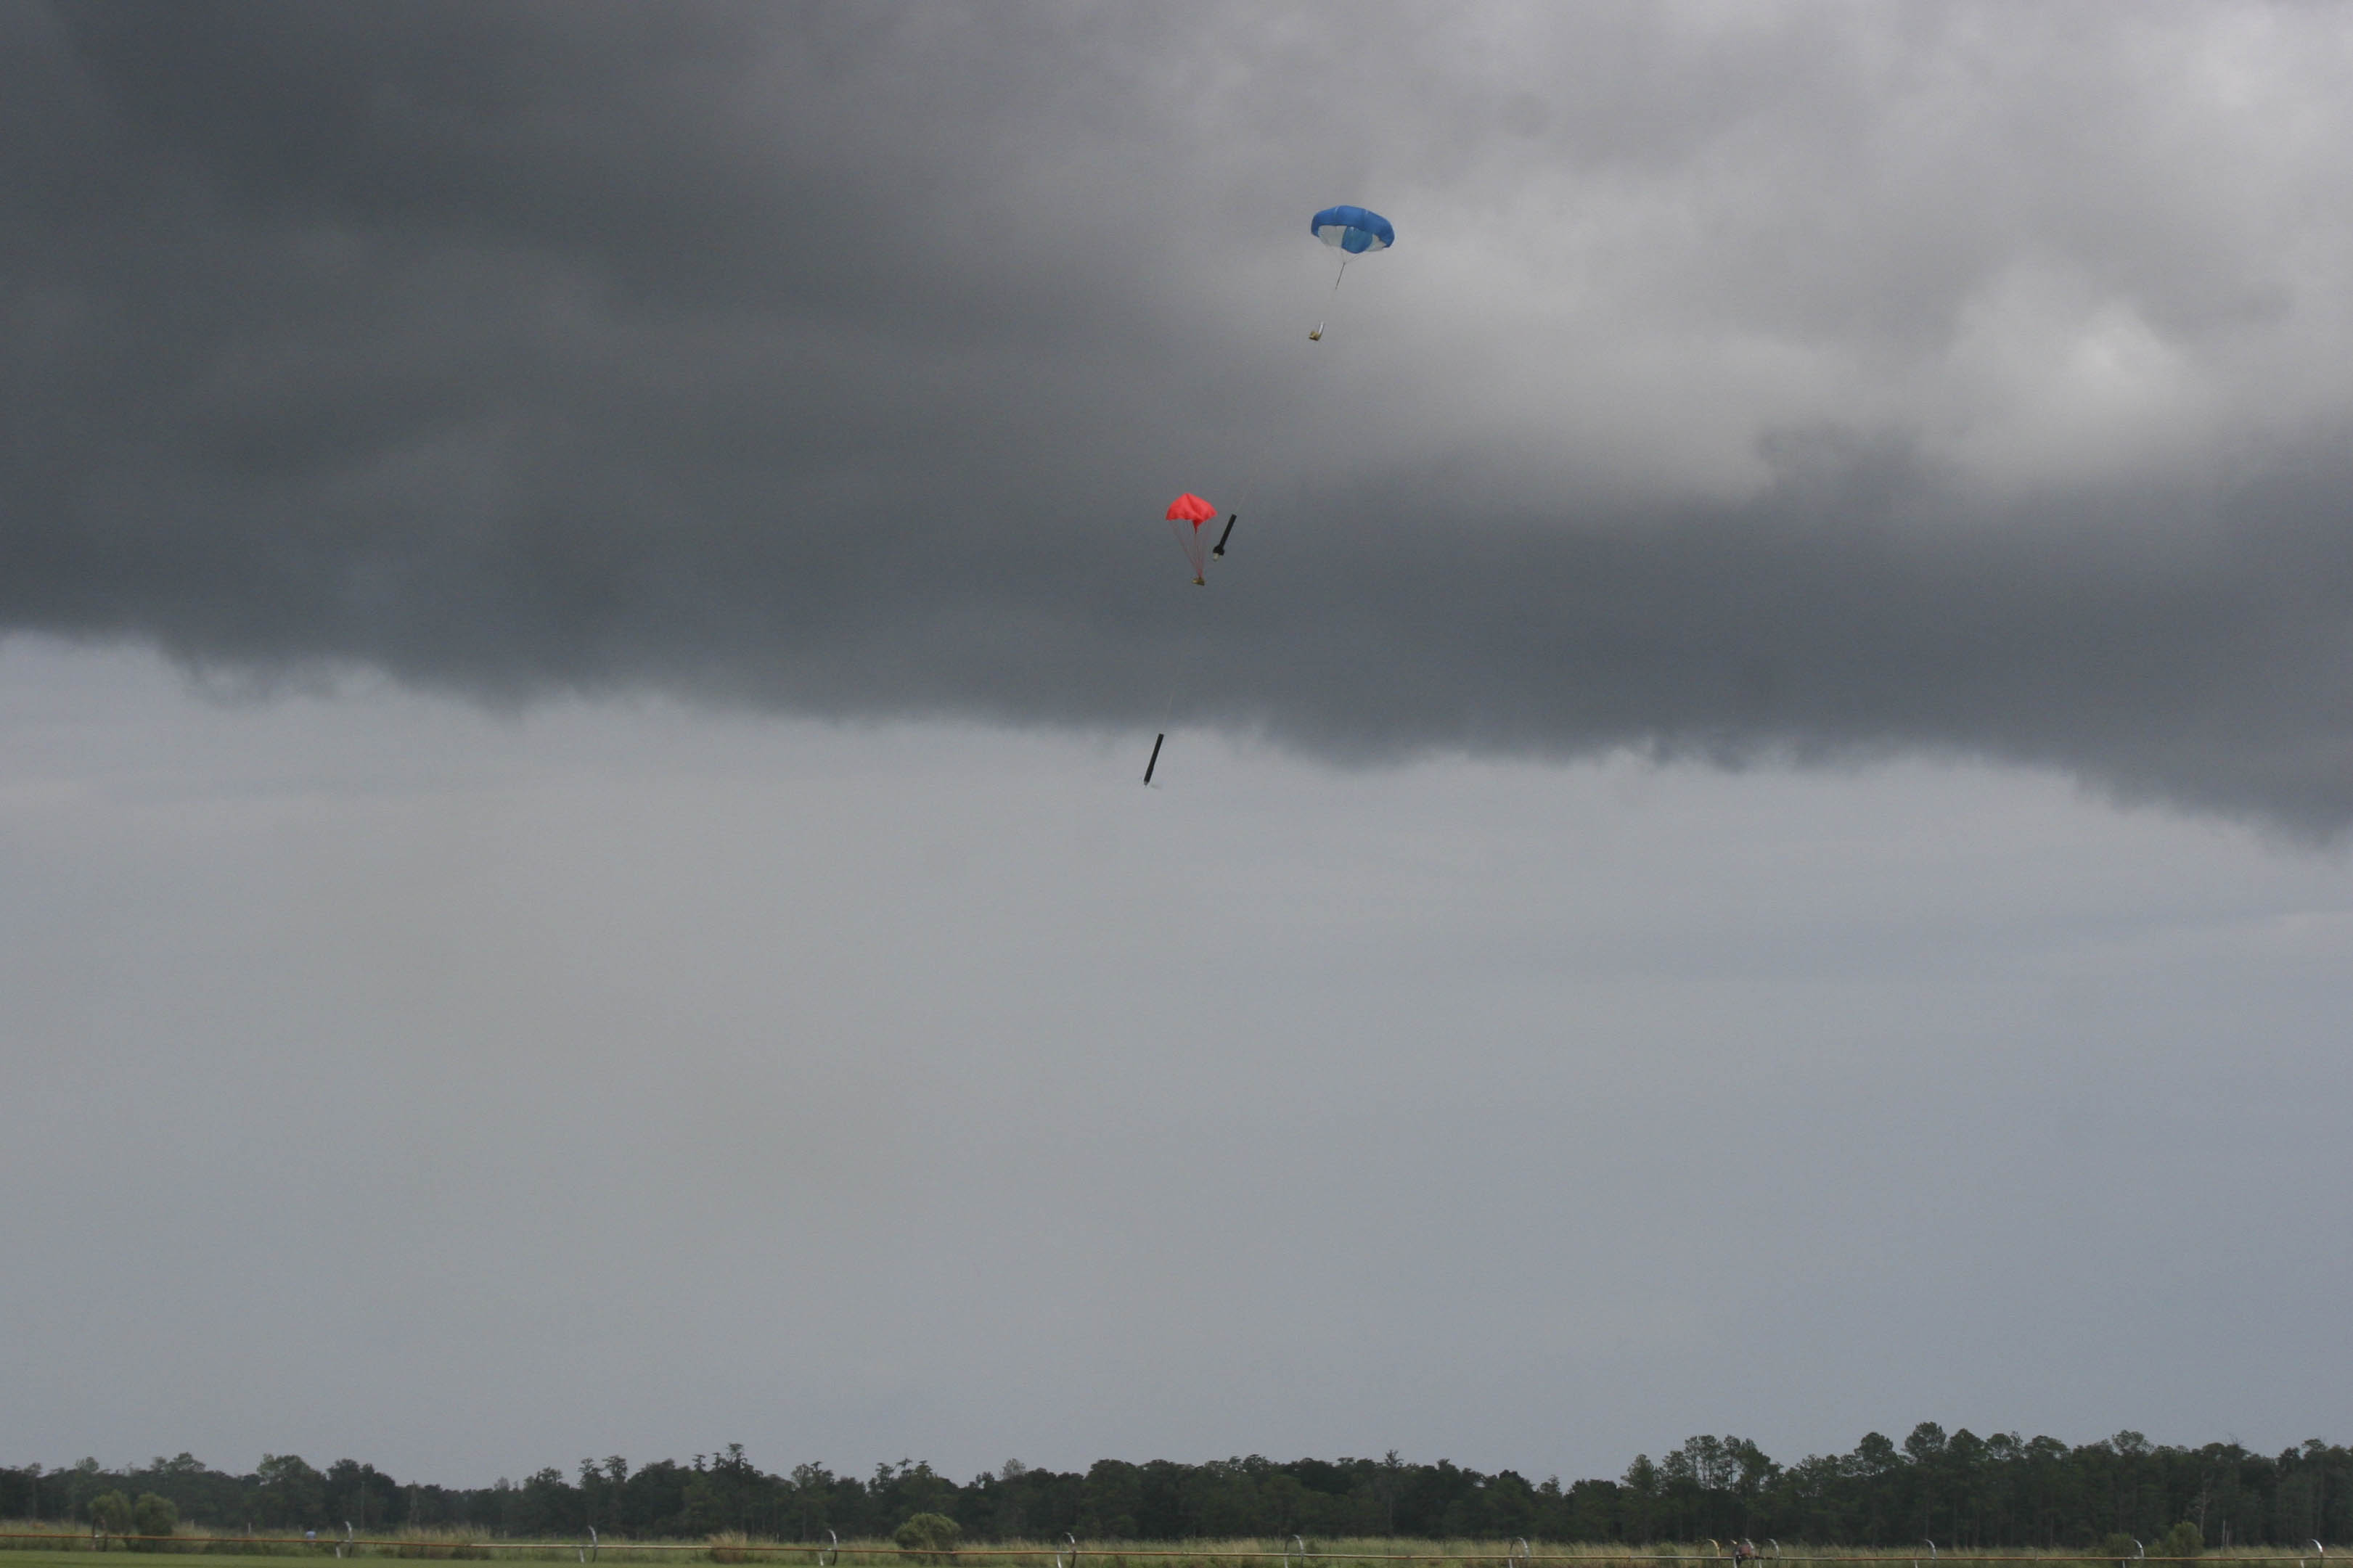
The rocket weather-cocked off the rail, but flew straight after that. It only reached 895' according to the altimeter. The drogue parachute deployed just after apogee. Only a couple of seconds later, the main chute appeared and the rocket drifted down slowly under darkening skies.
The Lexan fins are already a little scratched from transporting the rocket and the way it was dragged along the ground a little after the flight. But, I was very pleased with the flight. Unfortunately, neither video camera captured the flight. It appears both cameras stopped recording at the same time - twenty minutes after I had started them. The rocket was launched about ten minutes later, so both cameras missed the flight. Next month, I'll make sure the rocket is launched within twenty minutes of starting the cameras. And, I'll fly it on a K motor so that it goes higher. Hopefully, the weather will be a little nicer and I'll get video from both cameras during the flight. I have sort of a "mix and match" rocket now. I can fly it with either booster, with and without the cameras, and with either nose cone. I could even get silly and fly a short rocket consisting of one of the boosters with a nose cone. [Posted: 2008-07-24 | Updated: 2008-07-24] |
